
What Are Stable Diffusion LoRA + How To Use Them
- Cole B.
Today I am going to explain what stable diffusion LoRA are and everything you need to know to use them.
Adding this model to your images can make significant modifications to your images when you have already selected a checkpoint.
So, if you want to learn everything you need to know about LoRAs, this guide is for you.
Let’s dive right in.
What is a LoRA Stable Diffusion?
A LoRA (Low-Rank Adaptation) in stable diffusion is a pre-trained model similar to checkpoints.
What separates LoRAs from other models is that they are usually trained for a smaller range of outputs.
What I mean by a smaller amount of outputs is that a LoRA might be created to generate images in one specific style or replicate characters from a movie.
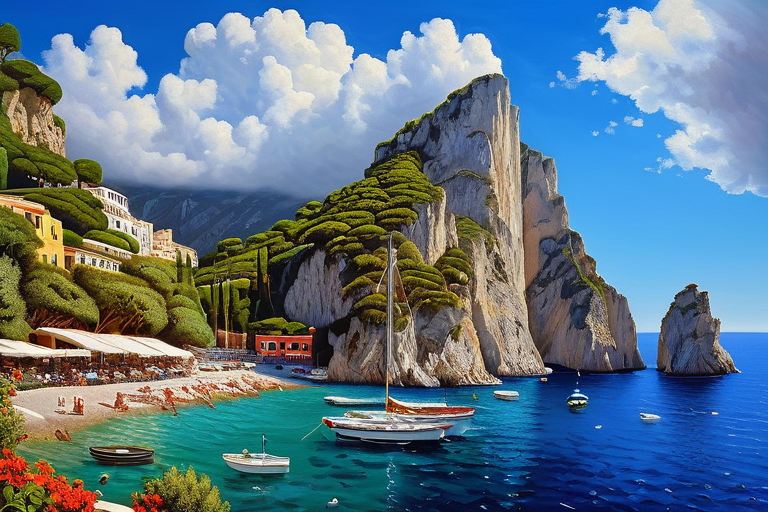
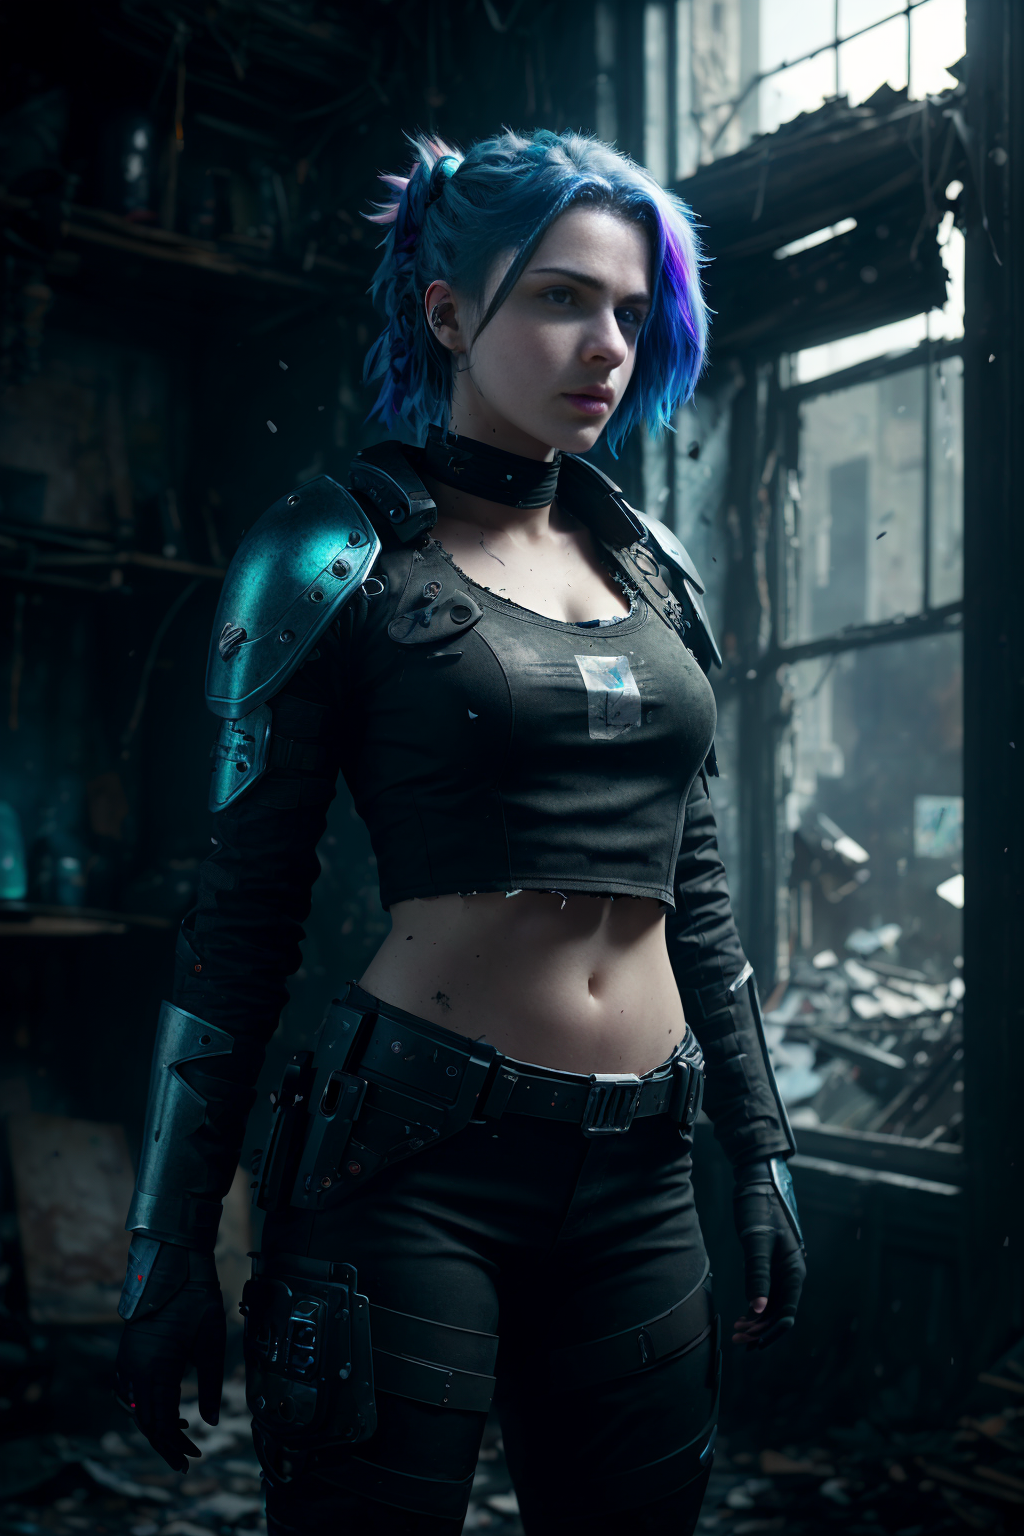
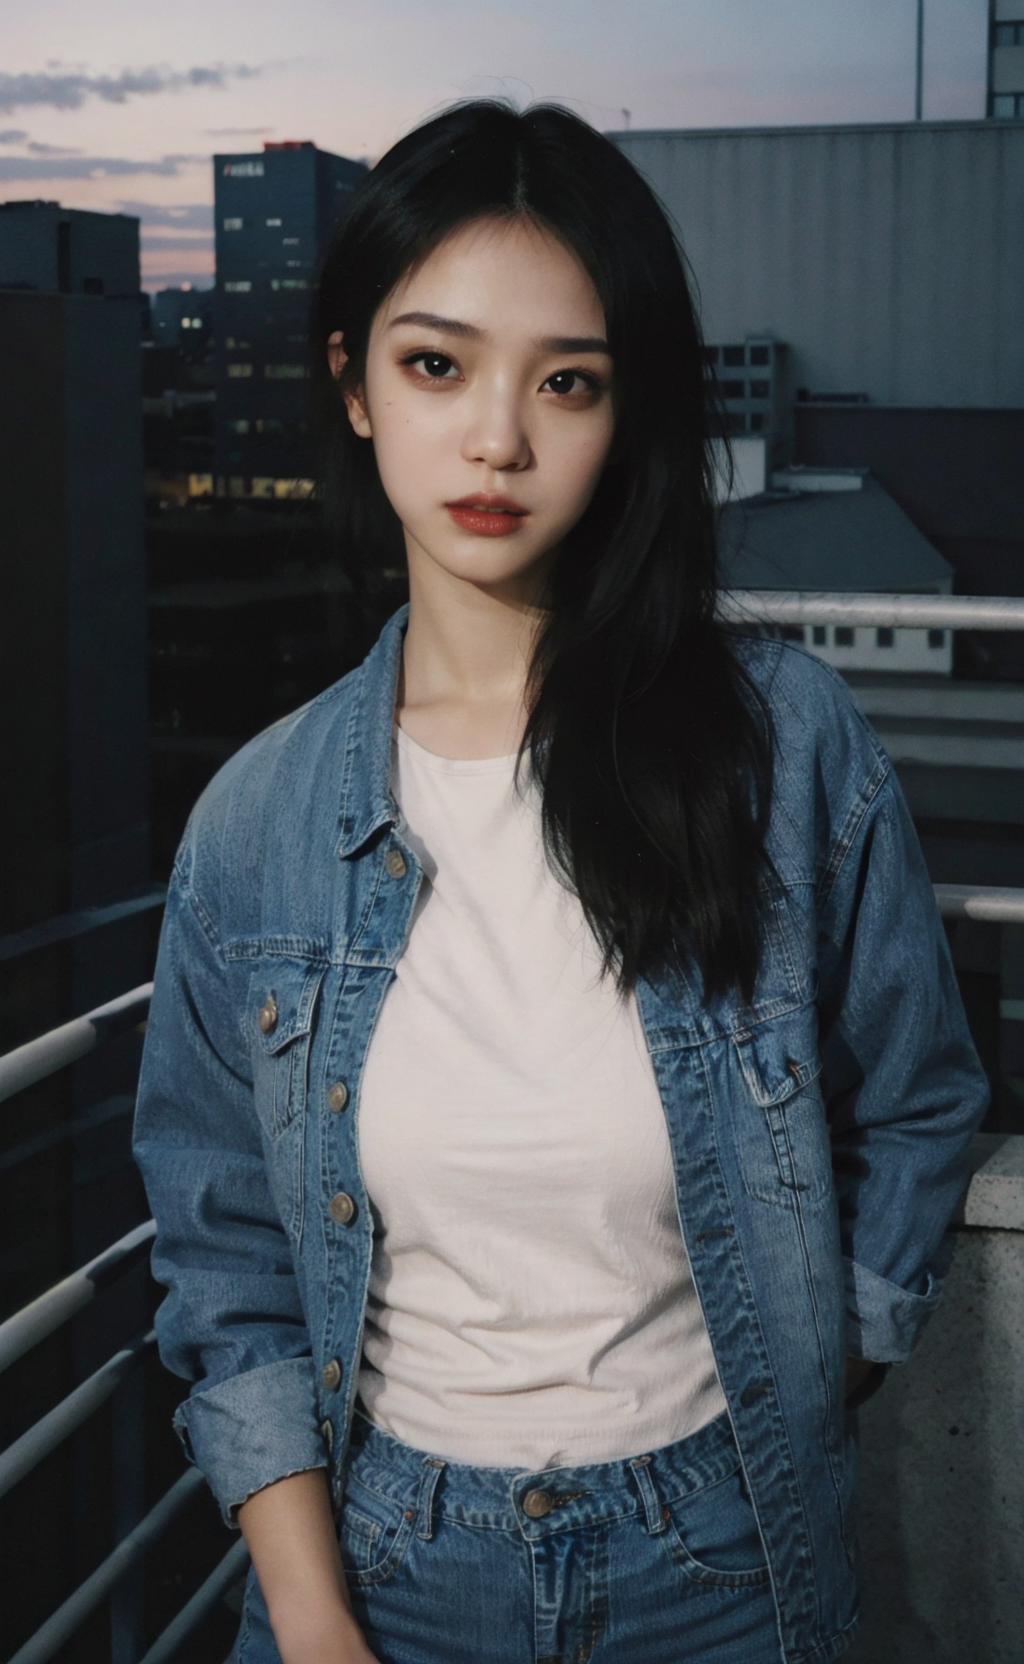
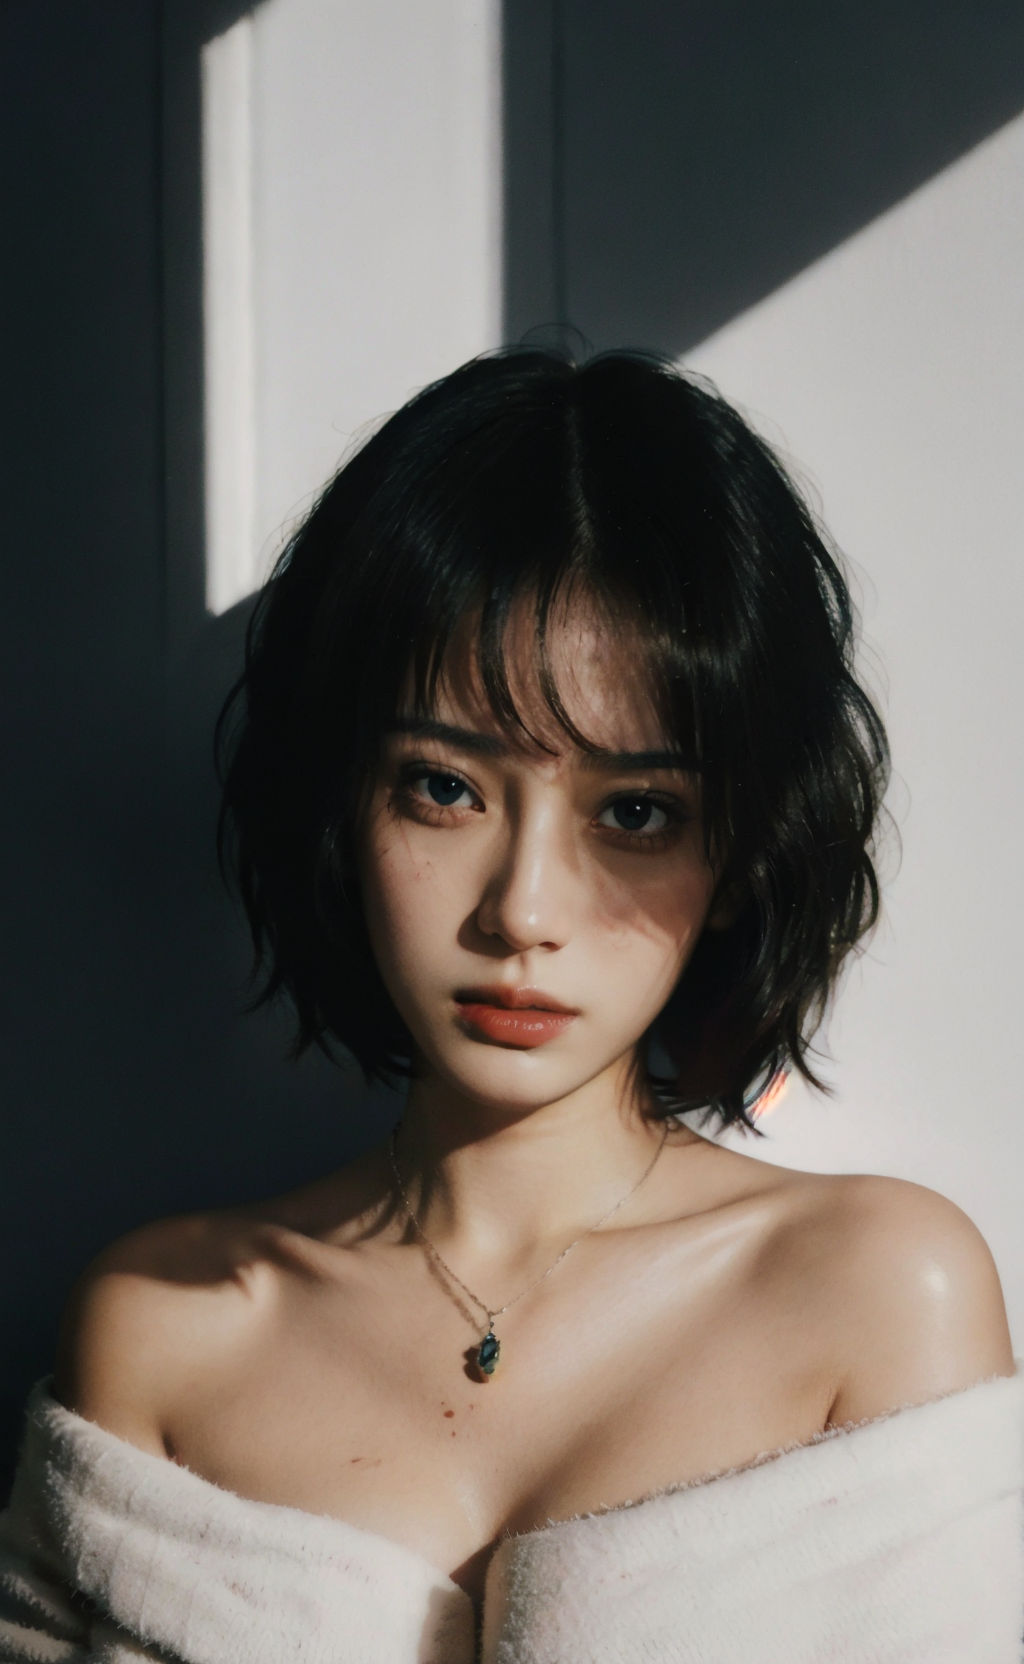
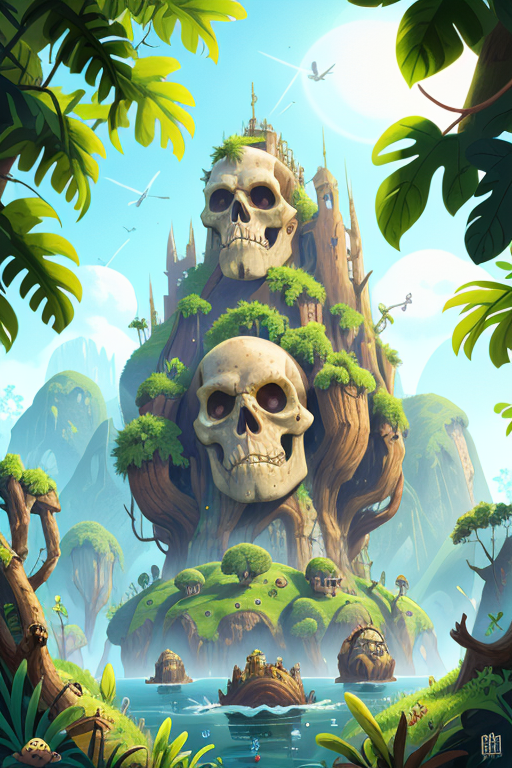
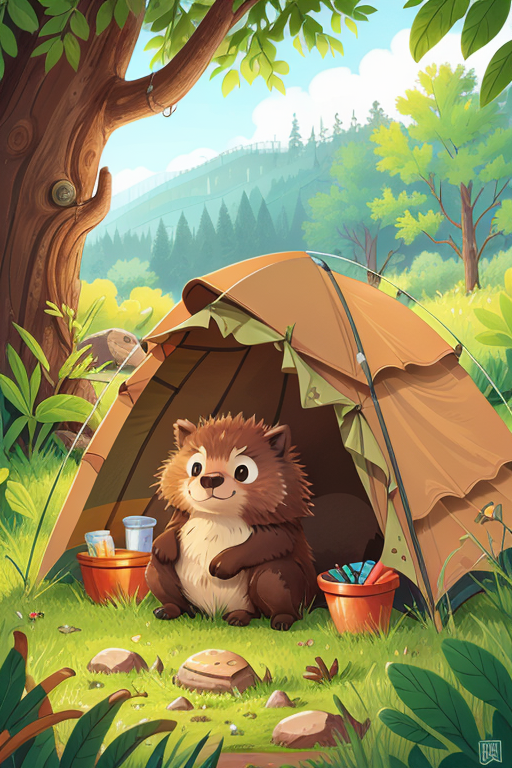
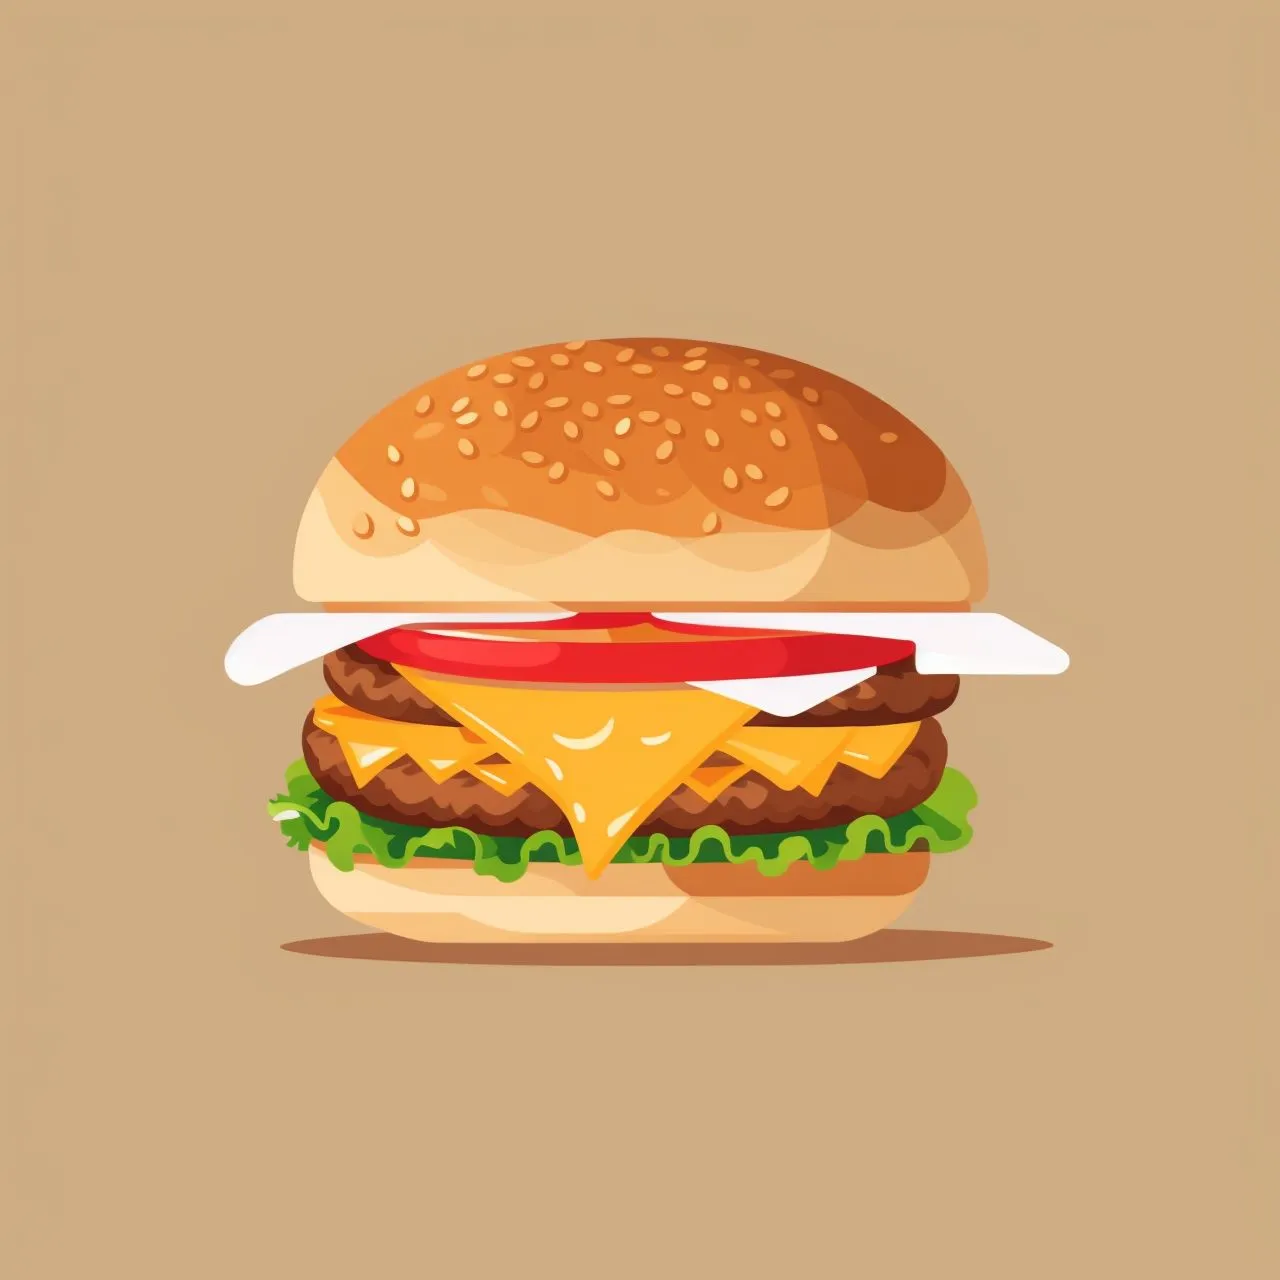
Some examples:
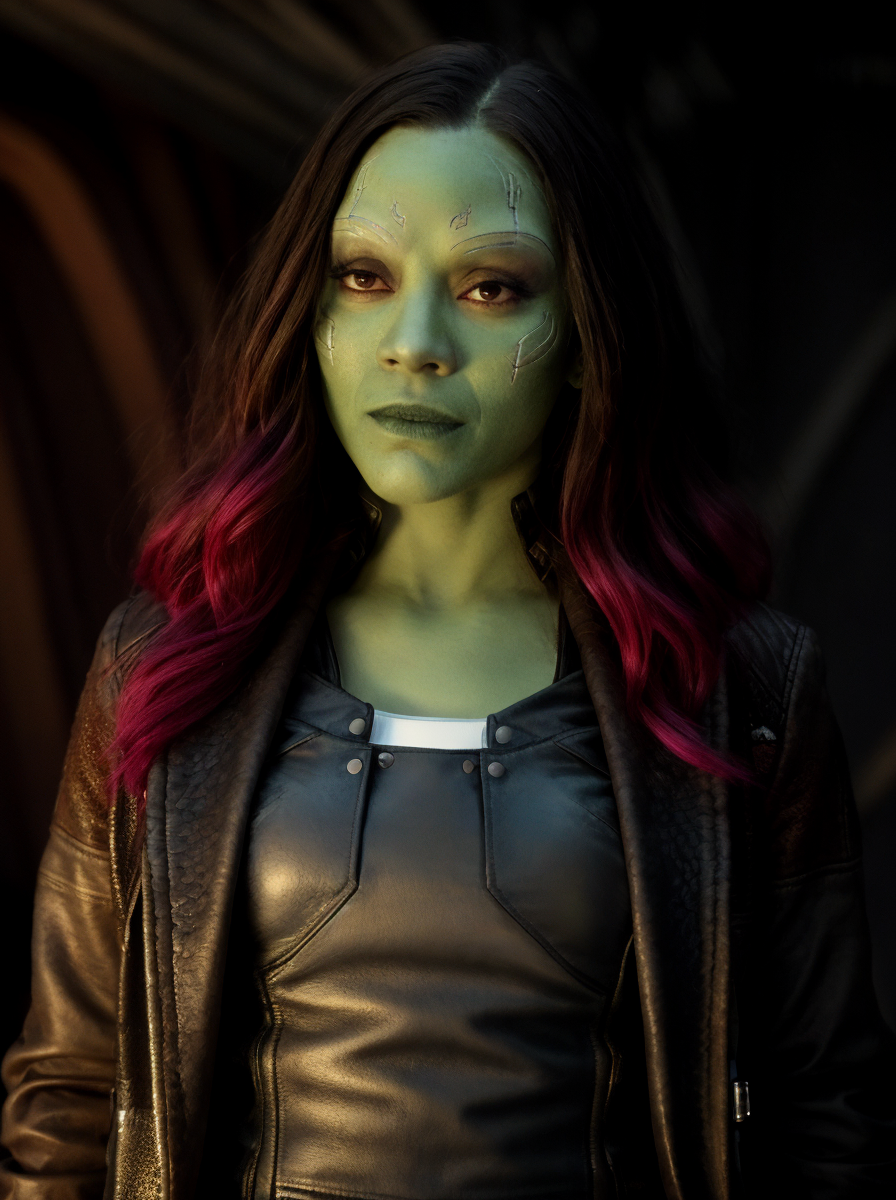
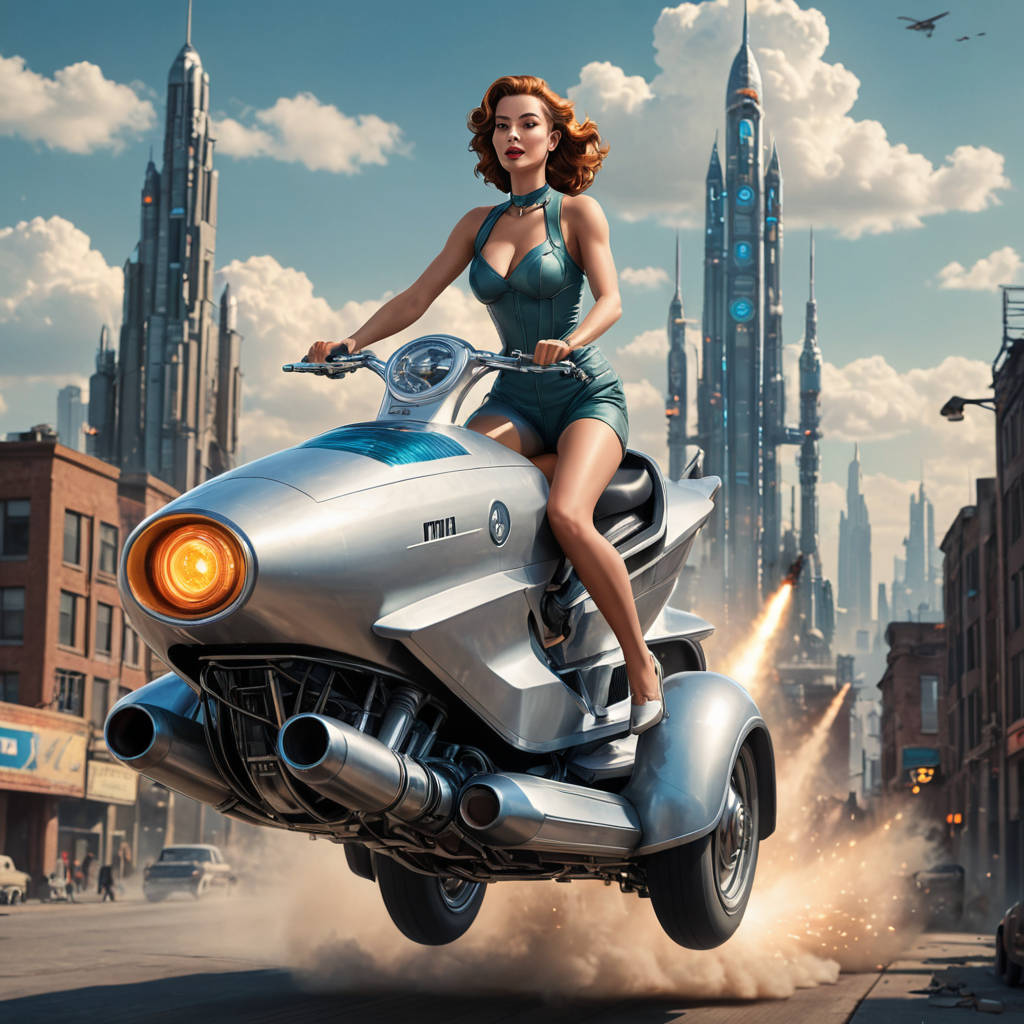
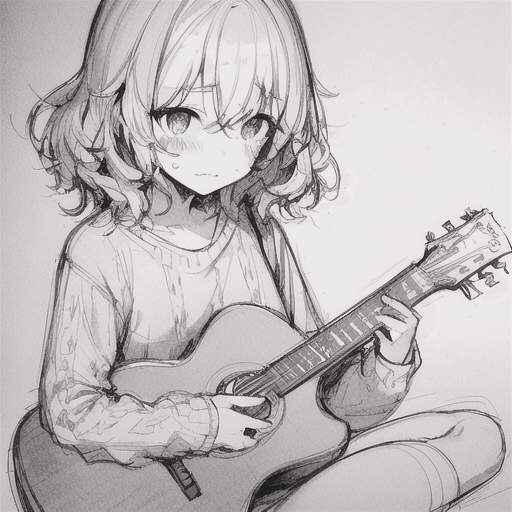
As you can see above, these LoRAs add specific objects, characters, and styles to your images.
Lastly, an important note is that multiple LoRAs can be used at the same time.
Can a LoRA be Used With a Checkpoint or By Itself?
Similar to other models like hypernetworks and textual inversions, LoRA models cannot be used by themselves.
A LoRA must depend upon a checkpoint model to do a majority of the output, and the LoRA will only create smaller changes in the output.
How are LoRAs Created?
LoRAs are trained on a smaller specific set of data to create a fine-tuned model. They are much quicker to create than other models due to the small size of training data needed and the smaller file size.
How to use LoRA in Stable Diffusion?
Using a LoRA will usually involve two main steps to use it in stable diffusion:
Step #1: Download and Install the LoRA
Find a LoRA that you want to use from a trusted website like Civitai.
After you find the right model, download it and/or move the file to the correct folder.
I am going to put the file path for Webui down below as an example:
stable-diffusion-webui/models/Lora
Step #2: Add the LoRA to Your Prompt
Usually, LoRAs have a syntax and specific name that you will need to include in the stable diffusion prompt in order to use it correctly.
The syntax is:
<lora:[name]:[weight]>
The name will need to be filled in for each specific LoRA model, while weight will depend on how much influence you want it to have on the image generation.
For example:
<lora:FILM_PHOTOGRAPHY_STYLE:0.8>
Furthermore, there is an easier way to use LoRAs in the WebUi GUI:
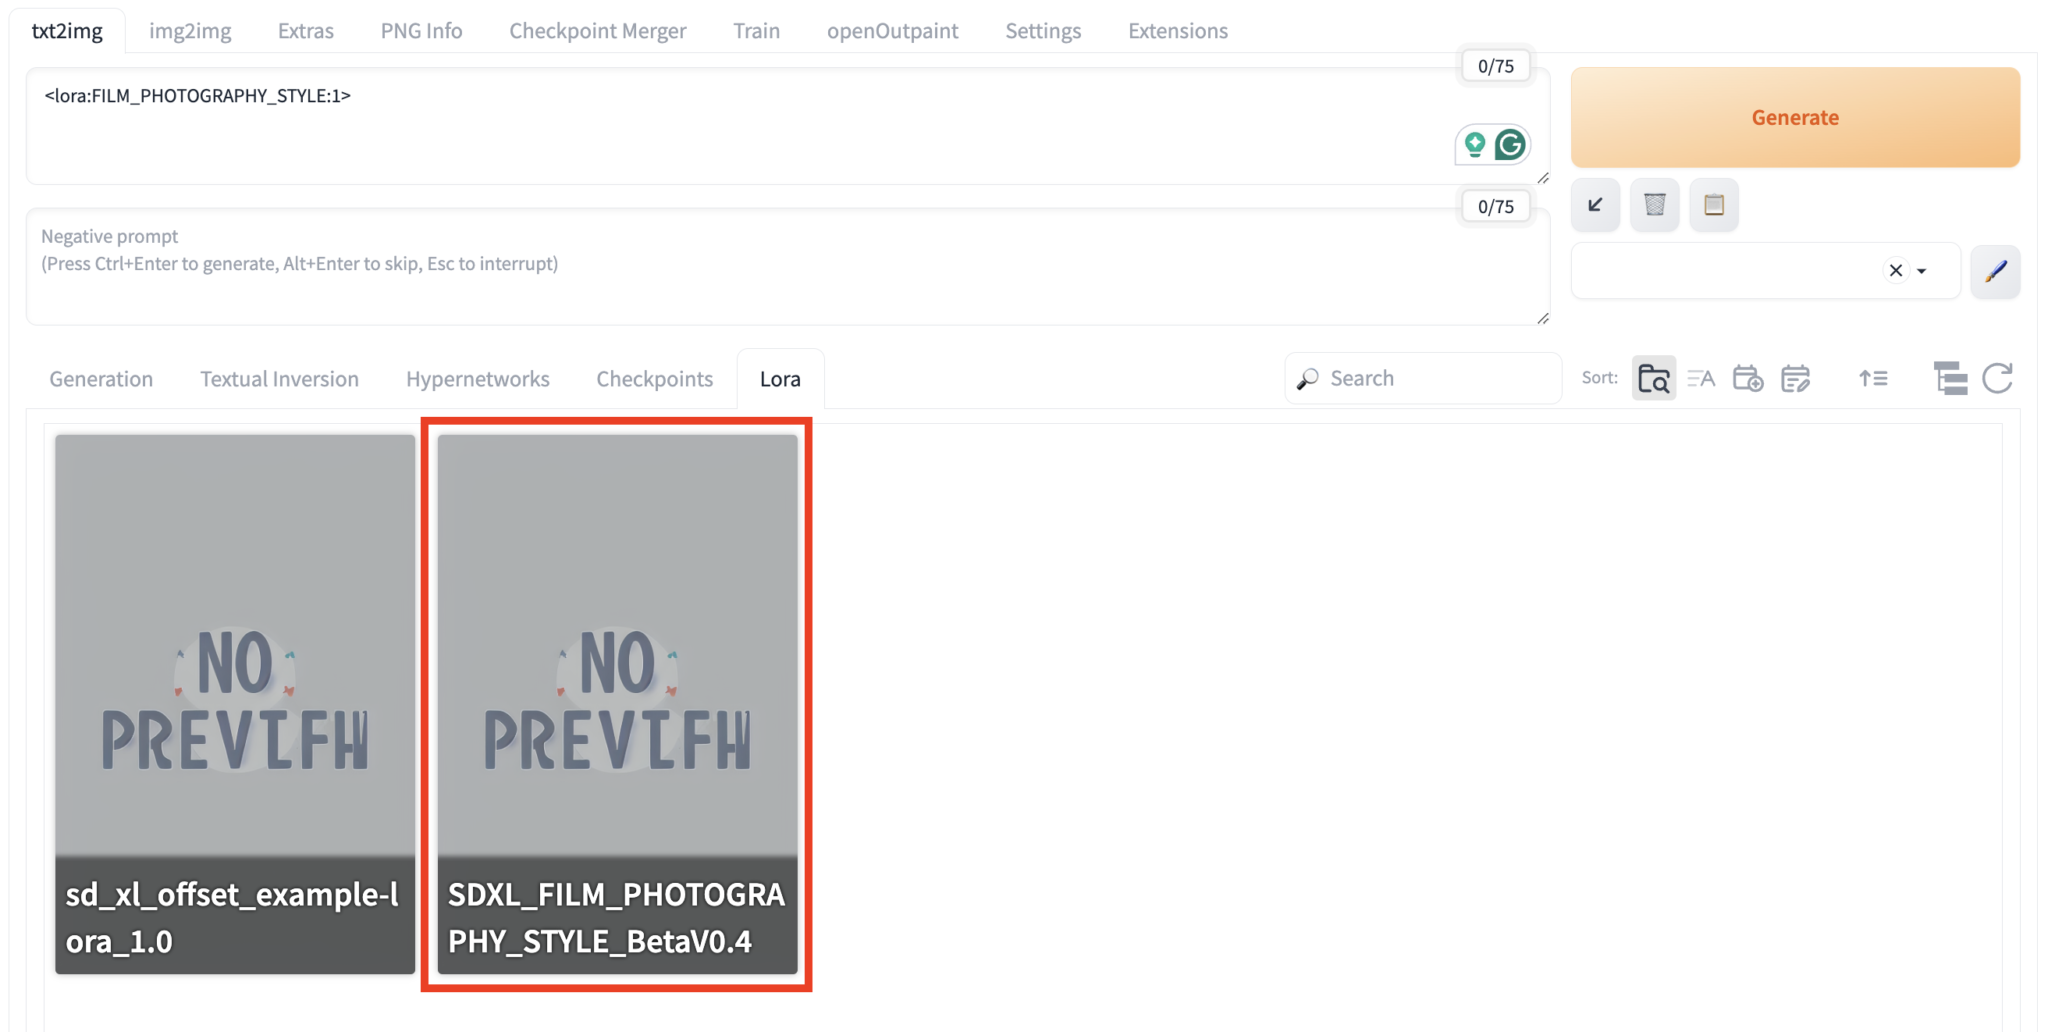
If you click on the LoRA in the correct tab, you will automatically add it to the prompt.
How to Add LoRA with Weight in Stable Diffusion
As I had previously mentioned, the LoRA prompt syntax is:
<lora:[name]:[weight]>
For example:
<lora:offset_0.2:0.5>
The last number at the end is the weight being used, with the example above having a 0.5 weight.
Most models are able to increase the weight to a maximum of 1 and a minimum of -1. Using a weight of 0 will disable the LoRA.
Do LoRA and Checkpoint Versions Need to be The Same?
Yes, they do. For example, v1.5 LoRAs can only be used with v1.5 checkpoints and SDXL LoRAs with SDXL checkpoints.
As a side note, it is ideal for LoRAs to have a similar output or style as the checkpoint as well. For instance, a LoRA focused on making cartoon images might have unpredictable results when using a realistic stable diffusion checkpoint.
9 Best LoRAs with Download Links
Now that you have learned everything you need to know about using stable diffusion LoRA, I am going to list off some noteworthy models that you can get started with today in no particular order:
1. Detail Tweaker LoRA
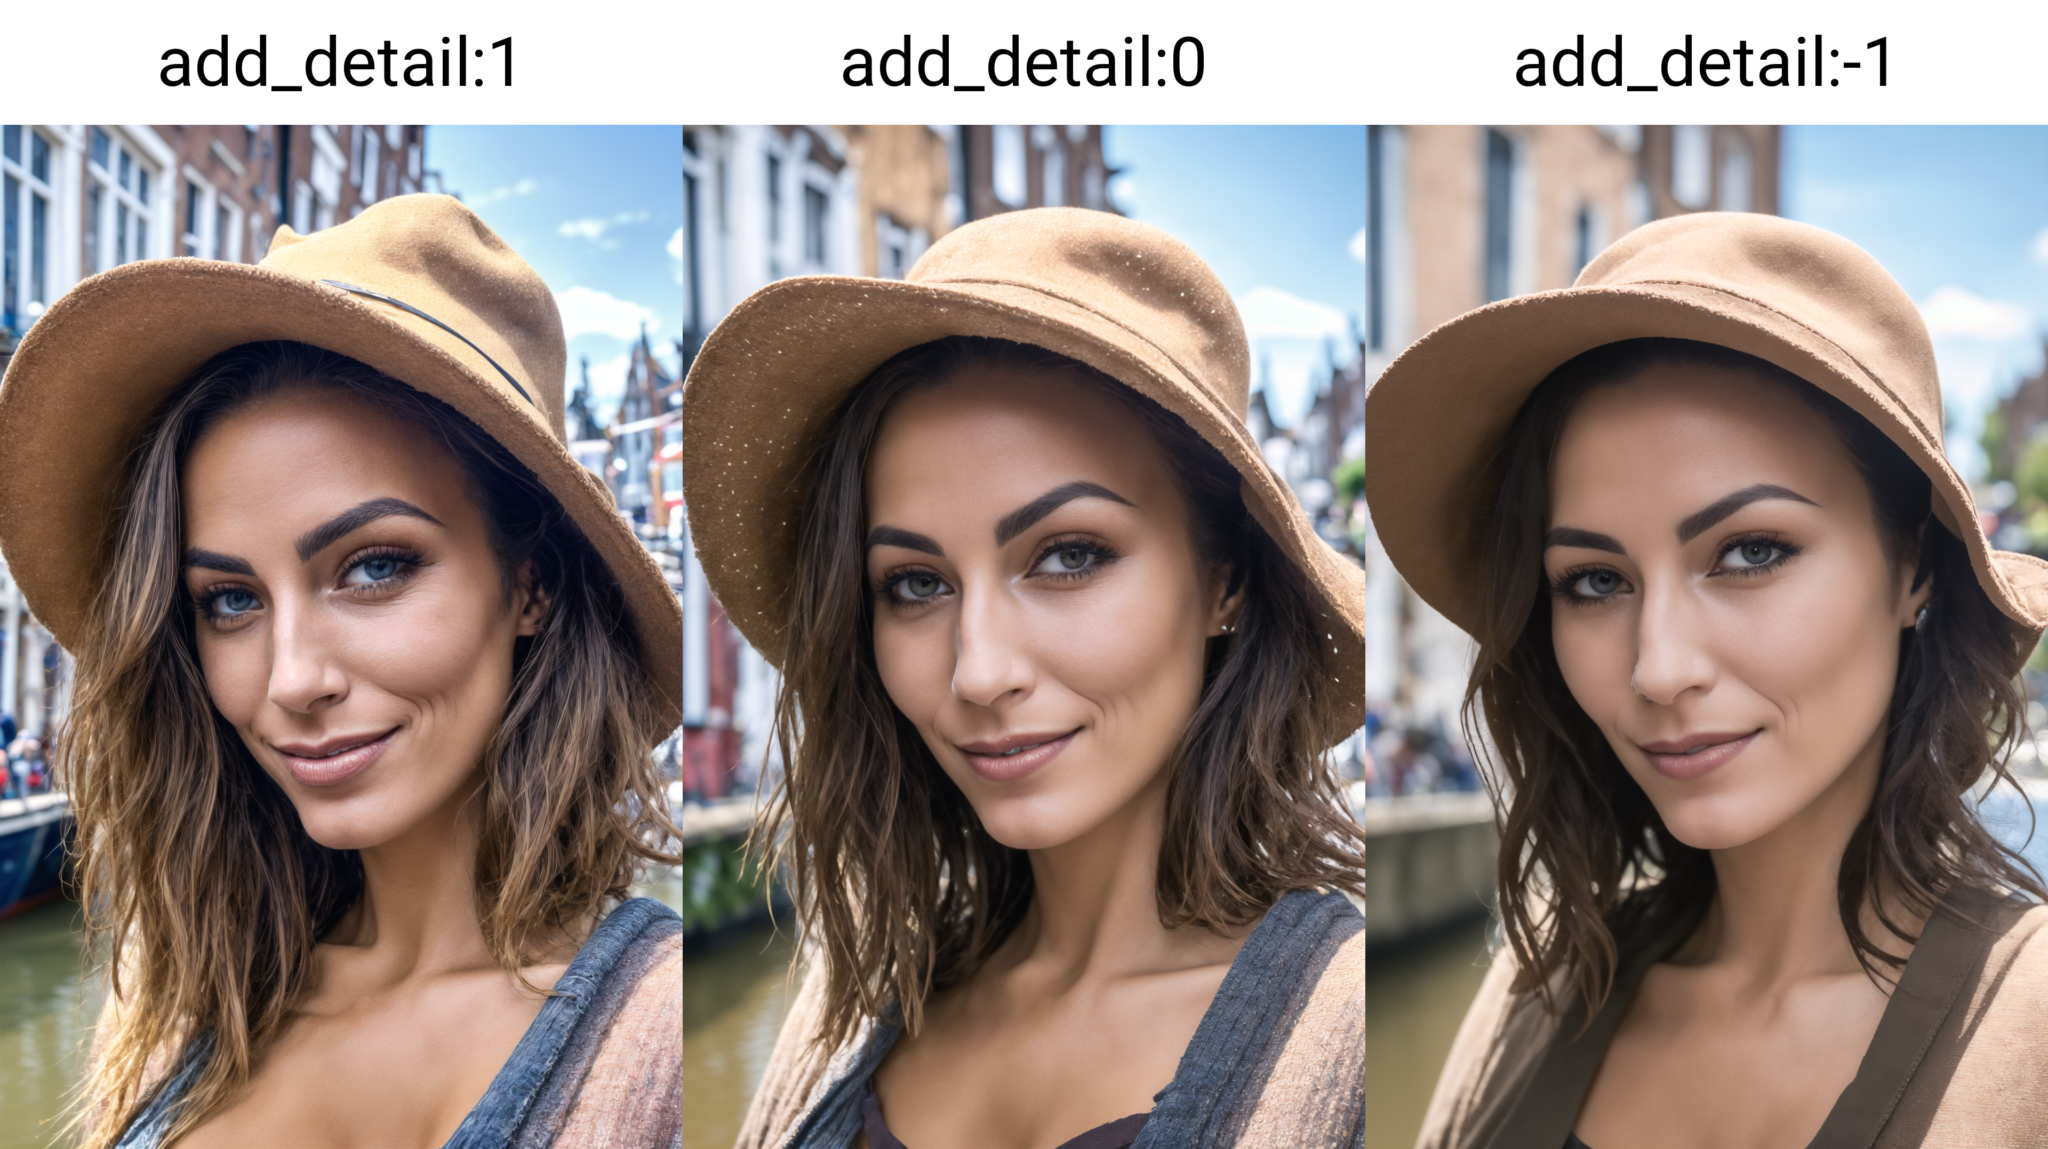
The detail tweaker model gives more detail to your image outputs if you increase the weight of the model in the prompt up to 2.
Furthermore, you can reduce details in your output images by using a negative weight up to -2.
2. epi_noiseoffset
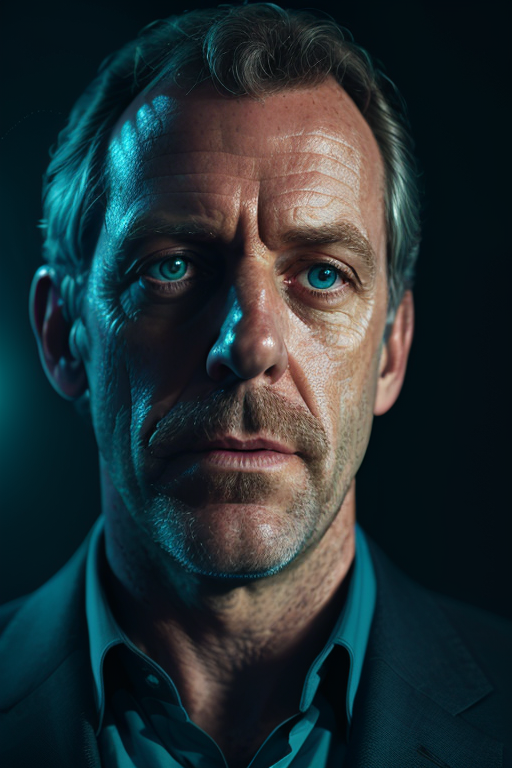
The epi_noiseoffset model purposely creates photos with a high contrast effect and darker images.
3. LEOSAM's Instant photo
LEOSAM’s Instant photo model creates images in a polaroid style. Great for making realistic and candid images.
4. M_Pixel
M_Pixel does exactly what it sounds like. It makes images in a pixel style, almost like a 16-bit video game.
5. KIDS ILLUSTRATION
Kids illustration creates images to mimic the style from children’s books.
6. Perfect Eyes XL
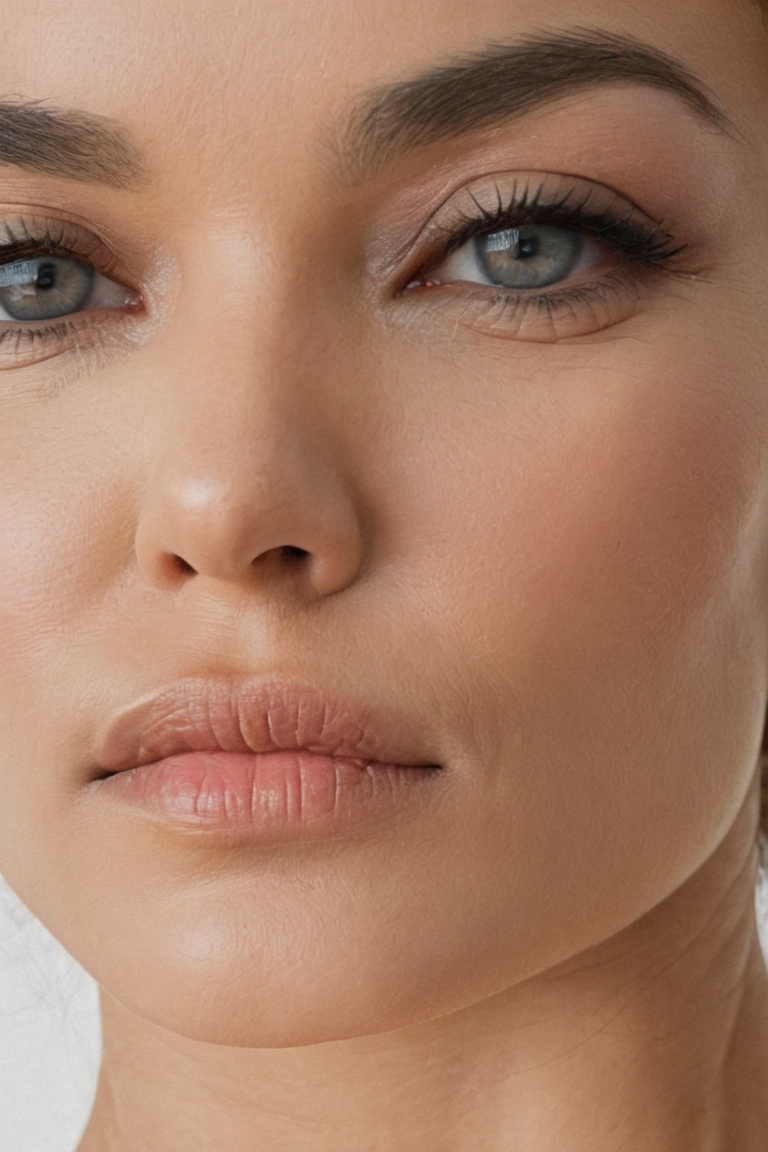

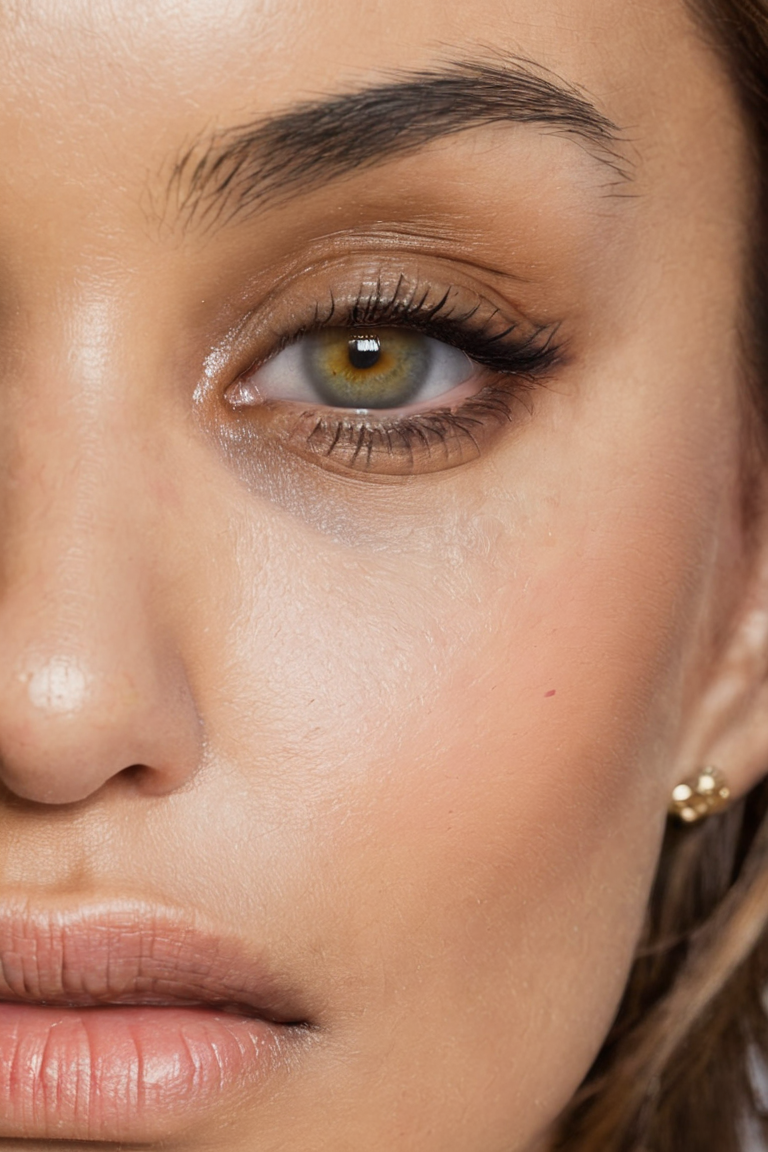
Perfect Eyes Xl focuses on making realistic eyes. This is a great alternative to using the restore faces option.
Make sure that you follow the specific types that are listed in the model description.
7. Oil painting(oil brush stroke)

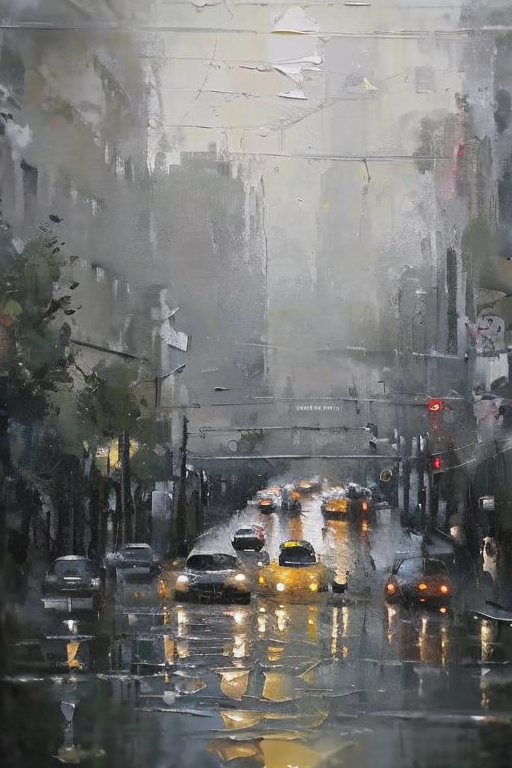

Oil painting will create images in a beautiful style that is similar to the oil painting you see at a museum.
8. Vector illustration
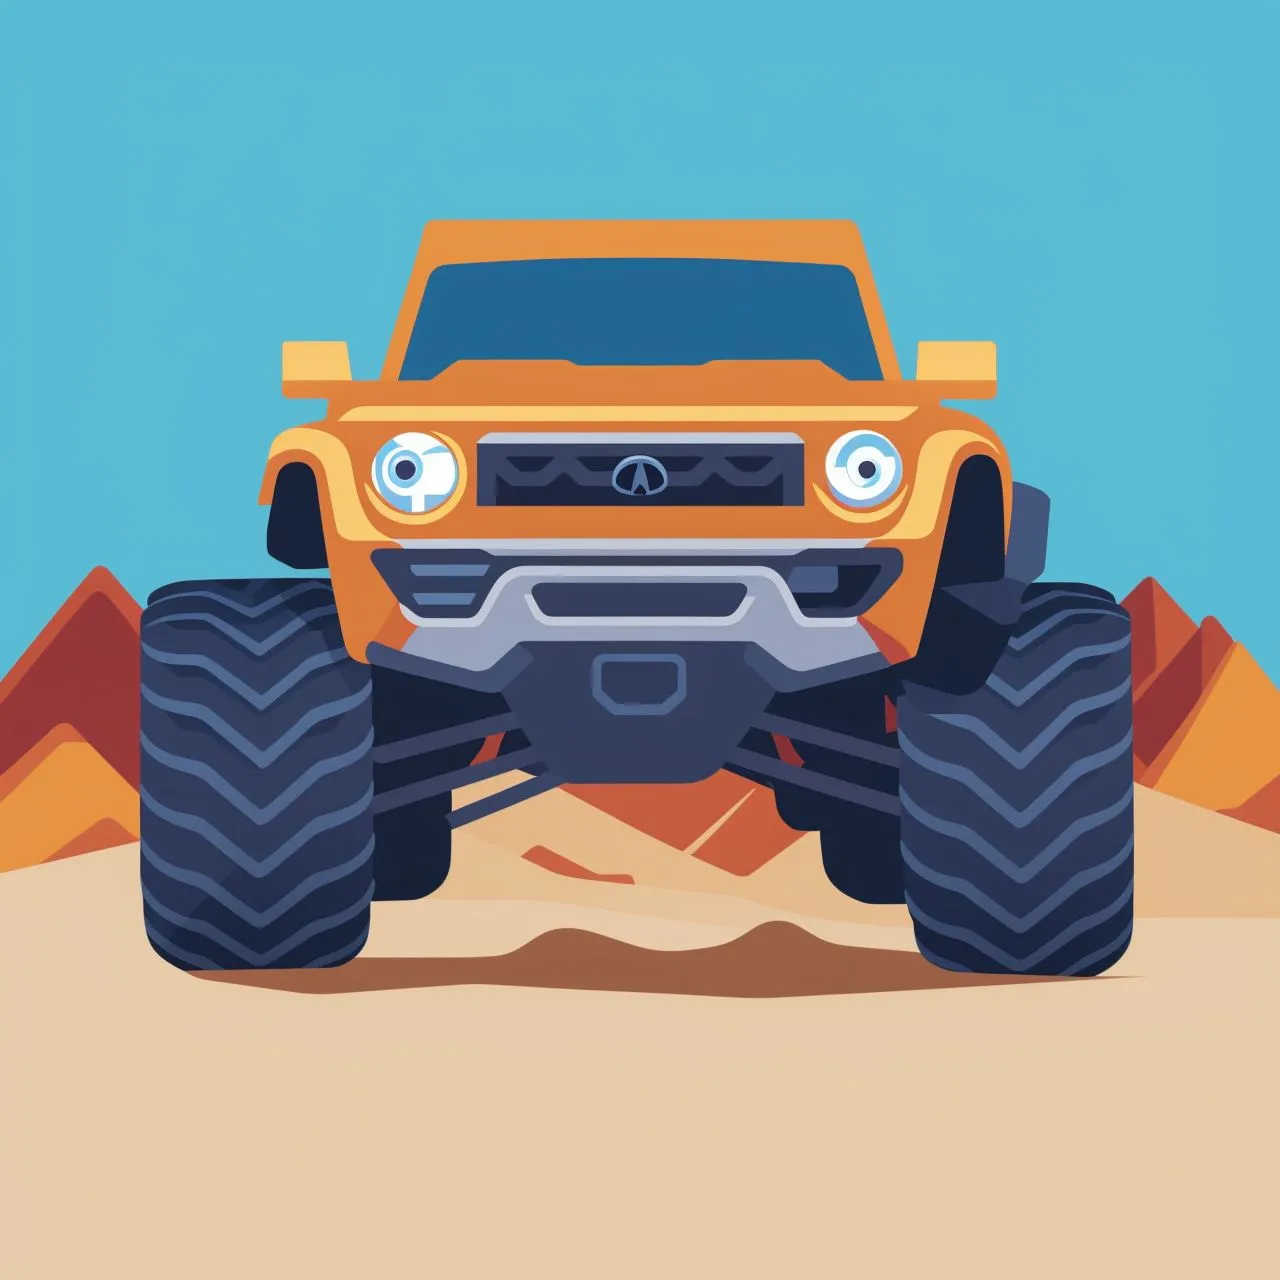
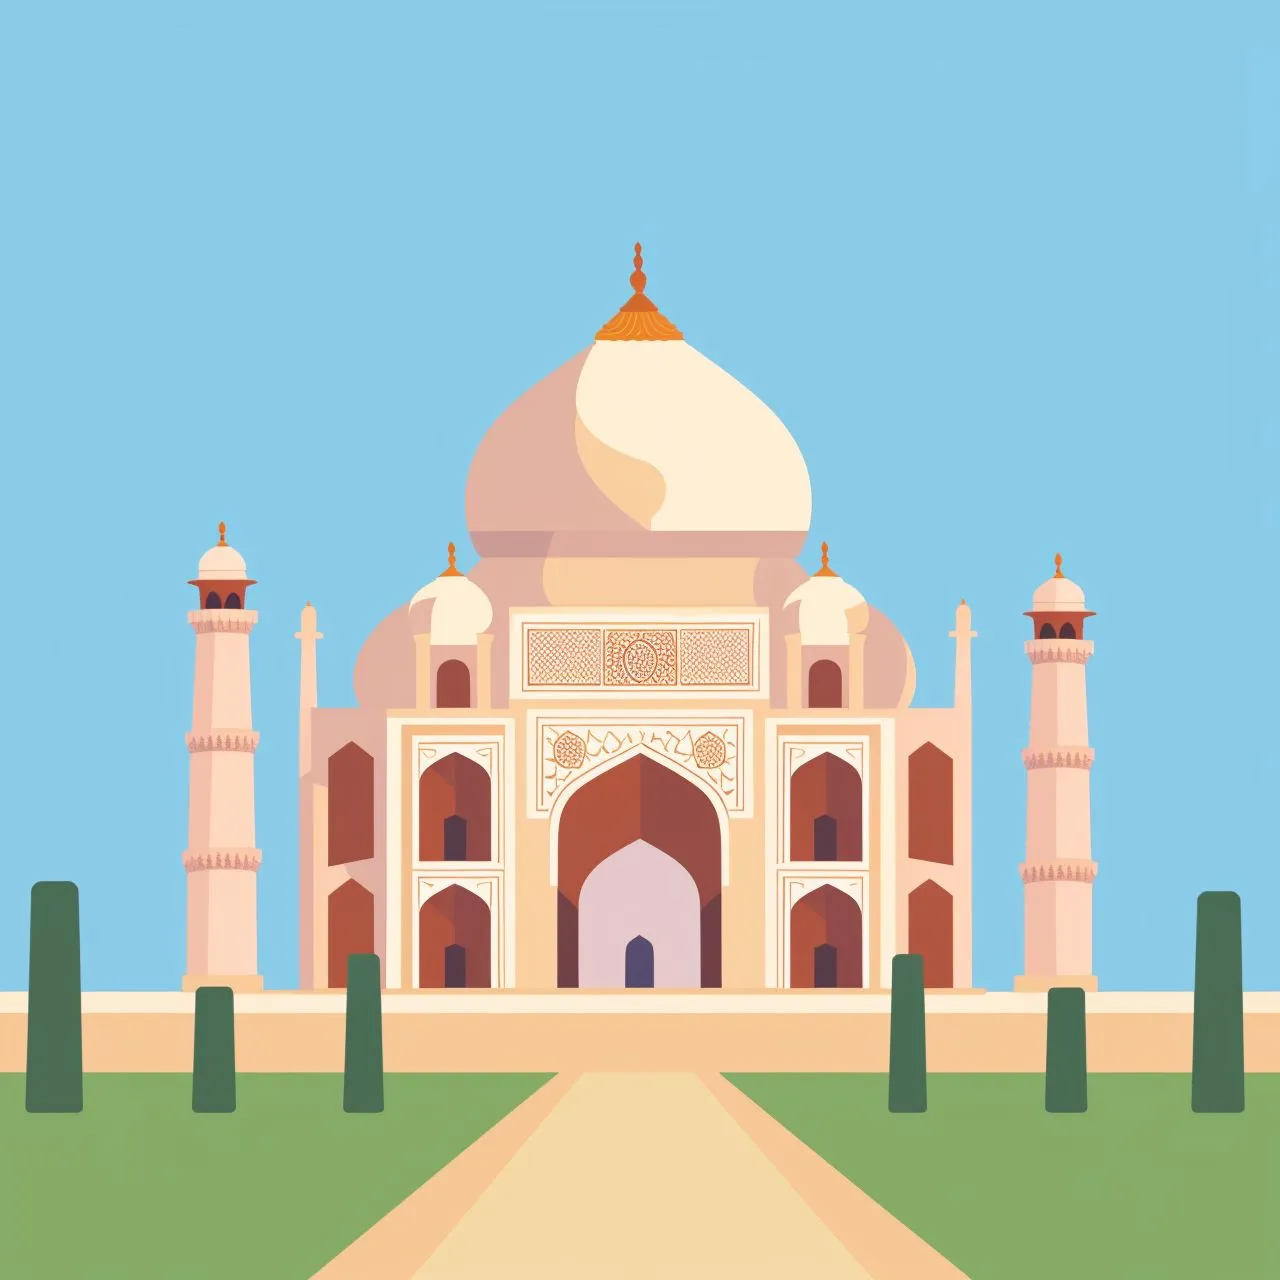
Vector illustration creates images that look like vector graphics and might be able to be used for websites and other media.
9. Hair Length Slider
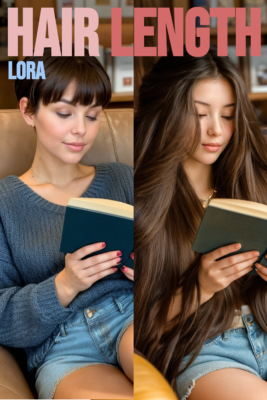
Hair length slider gives you much more control when generating human images.
It does exactly what it sounds like, with being able to use the prompt weight to create longer and shorter hair.
Let Me Hear From You
Now that I have covered everything with stable diffusion LoRA.
I want to hear from you:
What are the best LoRAs you have found or used while generating images?
Let me know by leaving a comment down below.