
Stable Diffusion Prompt Syntax: Complete Guide
- Cole B.

In this post, I am going to show you the perfect stable diffusion prompt syntax and other tools you can use when prompting engineering.
You’ll see how using prompts more effectively will enable you to have more control over your generated images and elevate the details with your AI art.
So if you want to get better at creating images using stable diffusion, you’ll find what you need in this guide.
What Is a Stable Diffusion Prompt?
A prompt is a text given to a stable diffusion model to guide the model when it generates images.
Your prompt will be separated into keywords or tokens that the model will be able to understand.
After tokenizing your prompt, stable diffusion will generate images using those tokens.
This can either steer your generated images towards or away from your keywords depending on whether you are using positive or negative prompts for your keywords:
Positive Prompts
Positive prompts are text given to a stable diffusion model that guides the images toward your given description

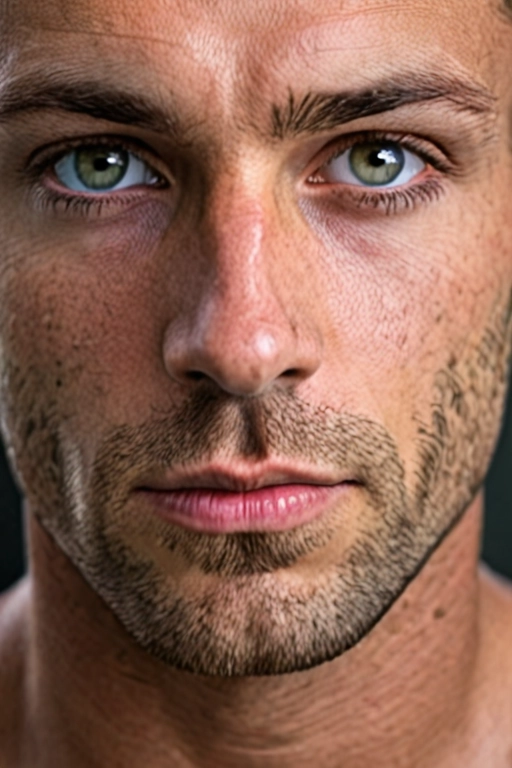
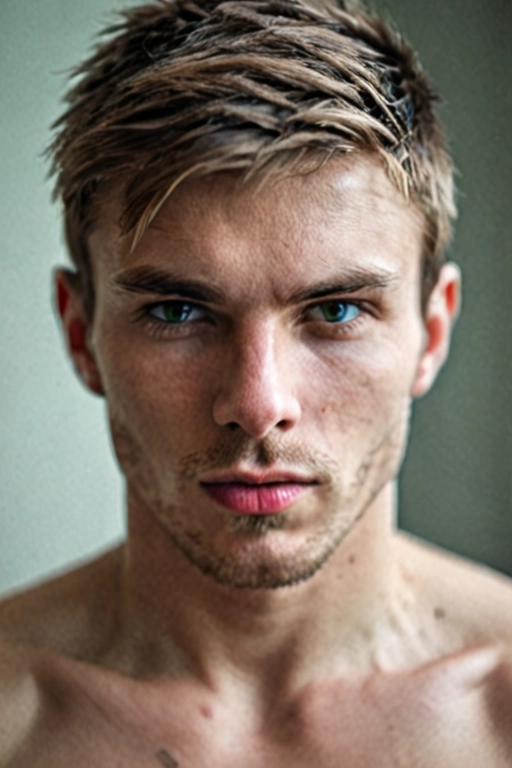
For example, if I were to use the prompt “cat” in stable diffusion, then it would generate an image of a cat.
You will want to use positive prompts to tell stable diffusion what you want to see in your generated images.
Negative Prompts
Negative prompts do just the opposite of positive prompts, meaning stable diffusion will avoid generating images related to your inputted keywords.

You will want to use negative prompts to tell stable diffusion, which you don’t want to see in your images.
What is the Stable Diffusion Prompt Syntax?
Stable diffusion prompt syntax is a suggested order and specific keywords to use when prompting stable diffusion.
The prompt syntax I recommend is:
Viewing Angle, Subject, Details, Medium, Style, Artist/Render, Lighting, Resolution/Focus
Why does this work?
This syntax uses keywords that stable diffusion is familiar with. Resulting in images that more closely resemble your text input.
There are a couple of key points to note with the syntax above:
- This syntax is not definite. Keywords can be added, removed, or reordered.
- The front of the prompt is taken more into consideration than the middle and back.
- The CFG scale can be used to increase or decrease adherence to your prompt when generating images.
Now that we got that out of the way. Let’s get into each keyword type and examples of how to use them:
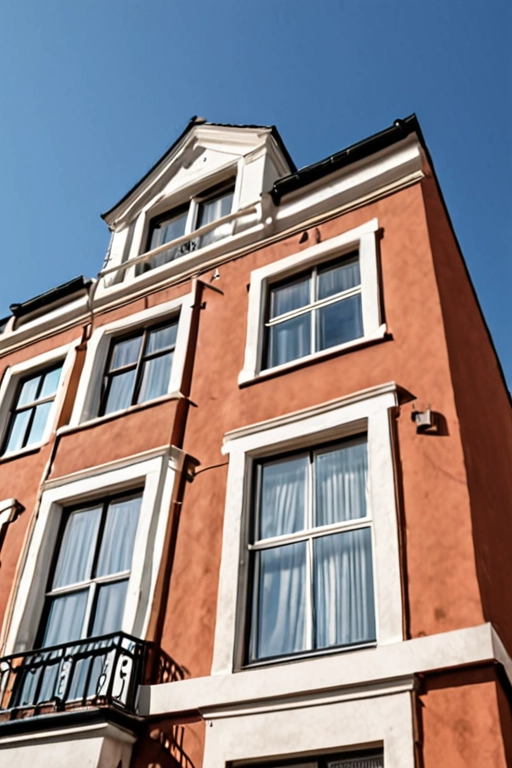
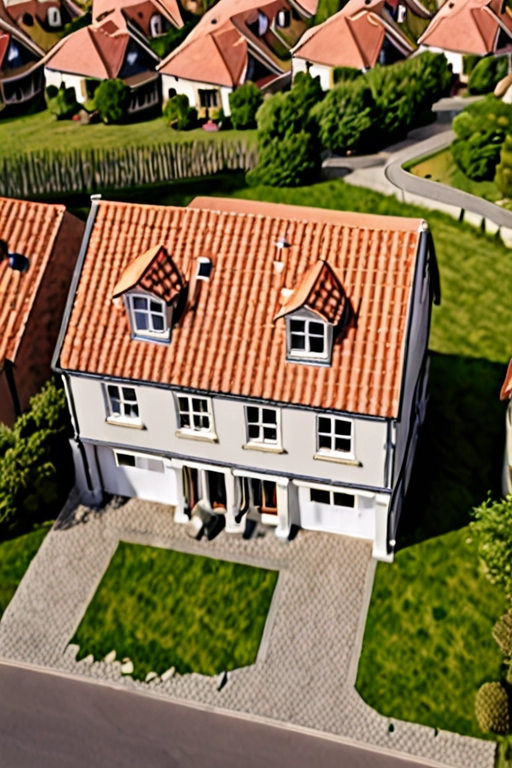
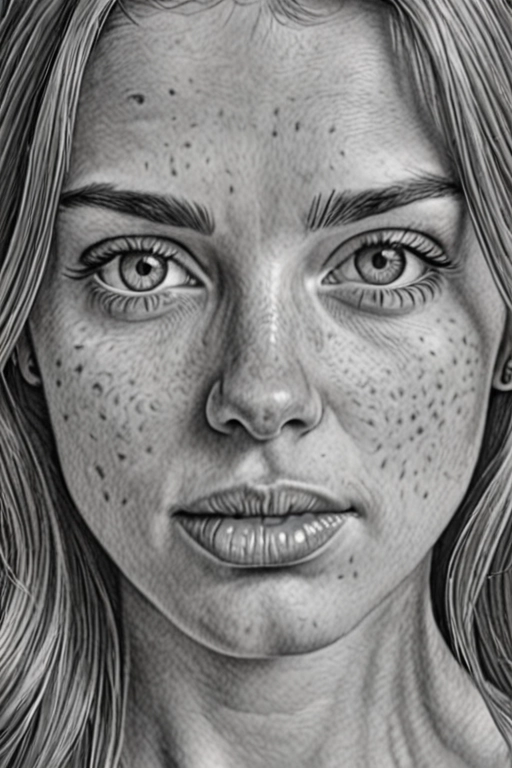
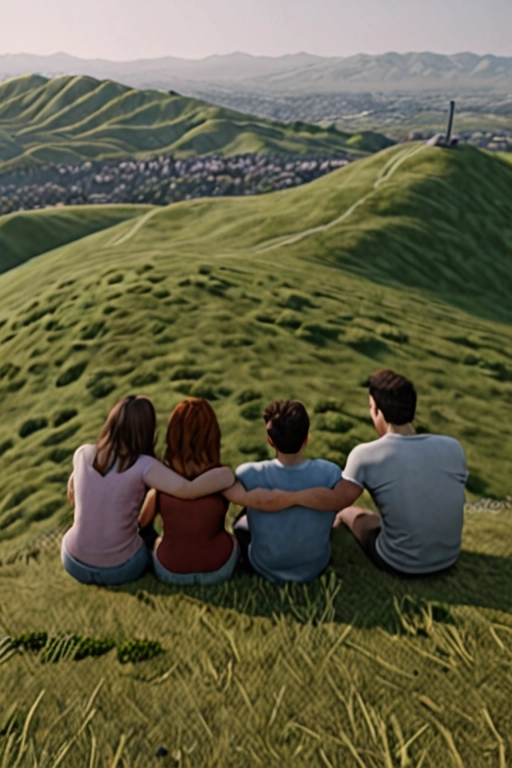
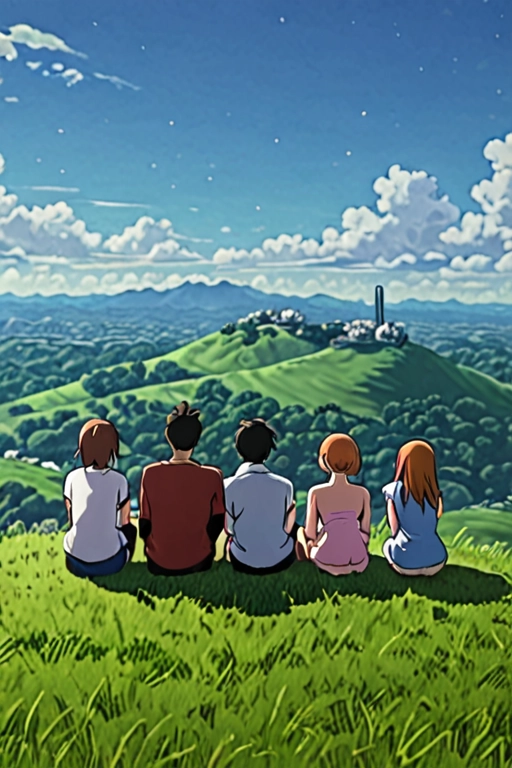
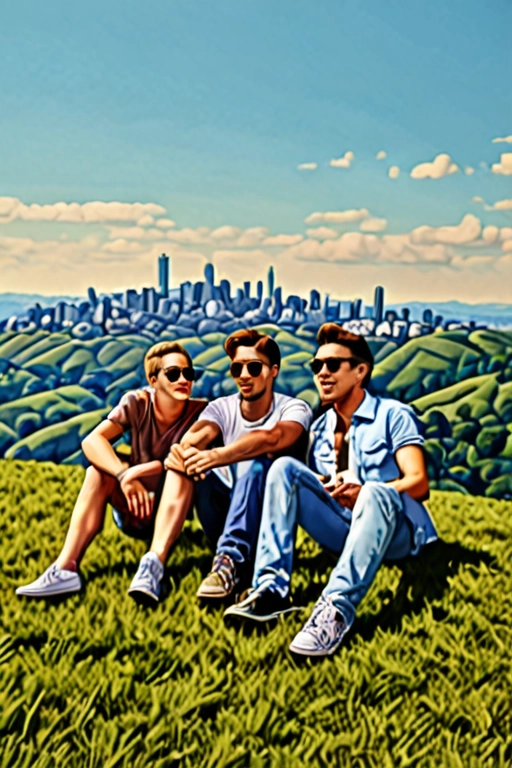
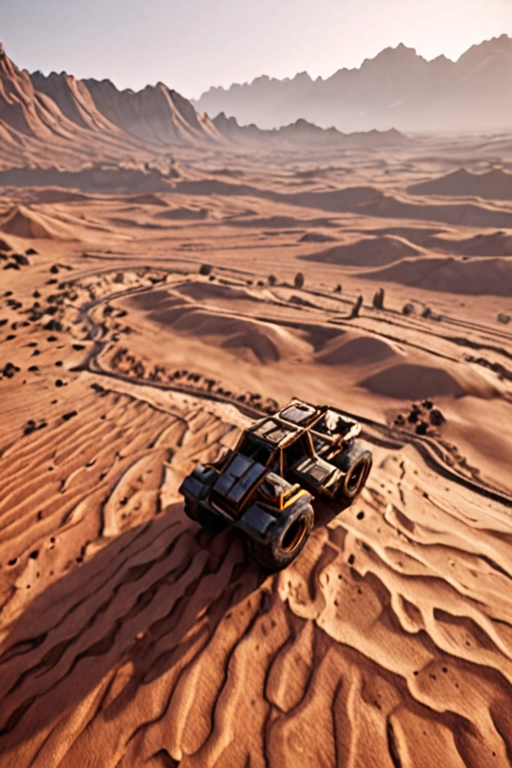
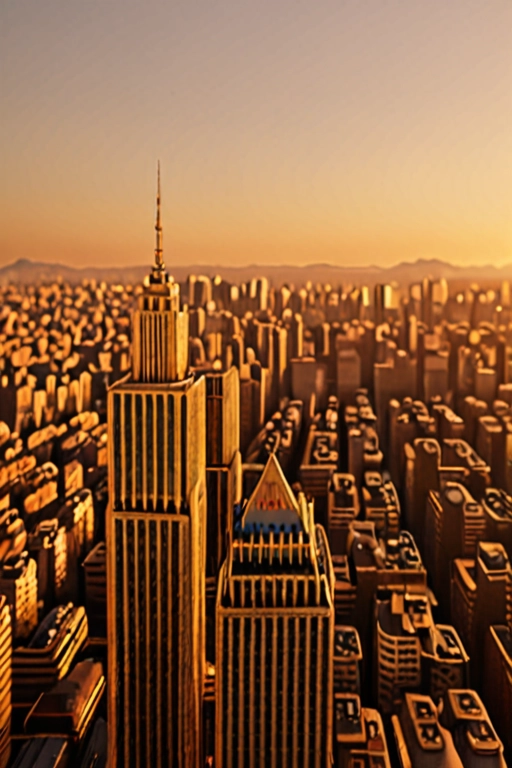
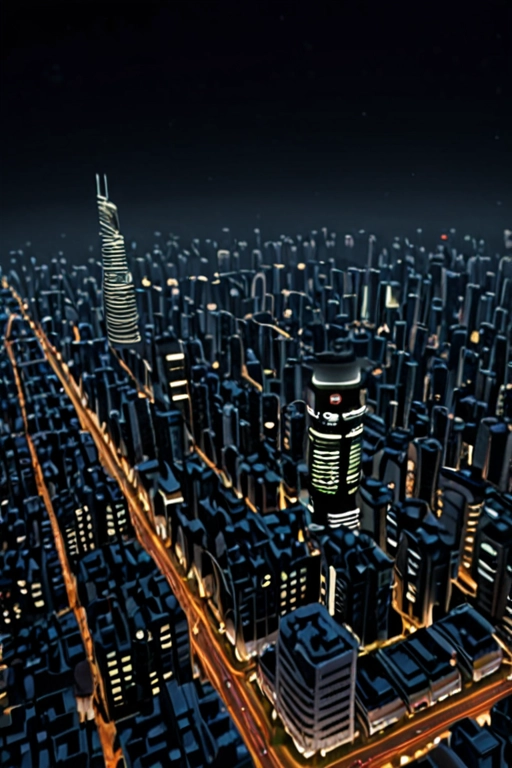
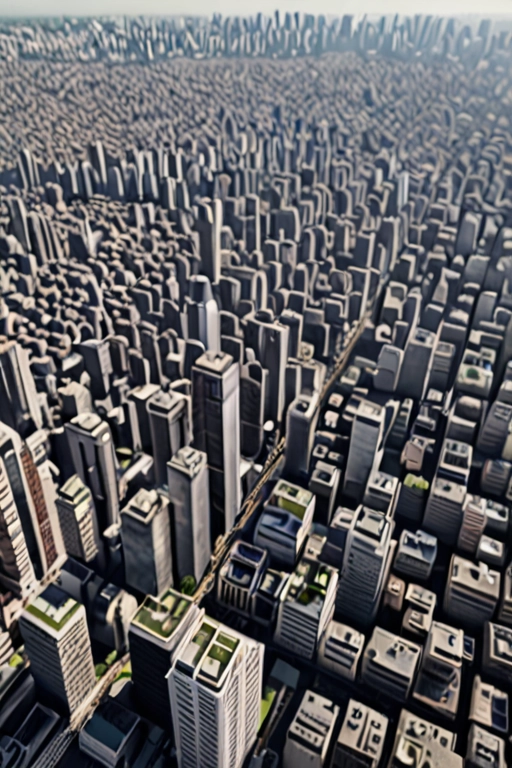
1. Viewing Angle
Viewing angle lets stable diffusion know what angle the images should display.
Think of it from a photography or filmography perspective:
Should the image have a birds-eye view to show a wide landscape, or maybe a portrait angle to focus on a particular subject?
Here are some examples of different viewing angles:
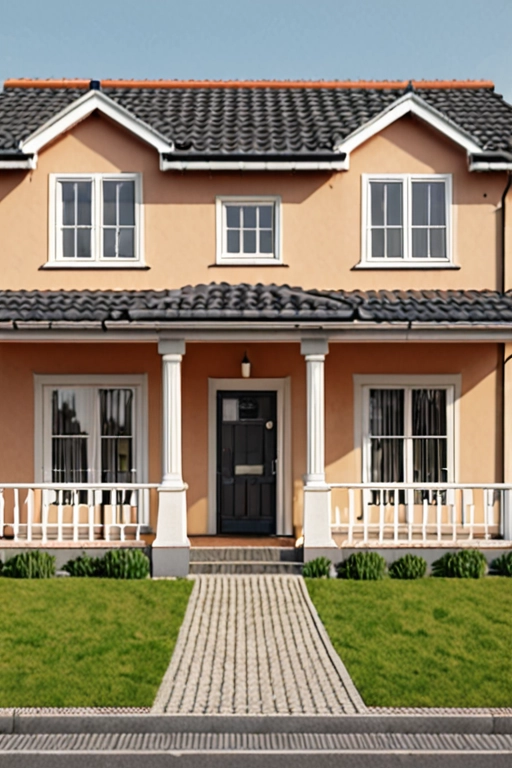


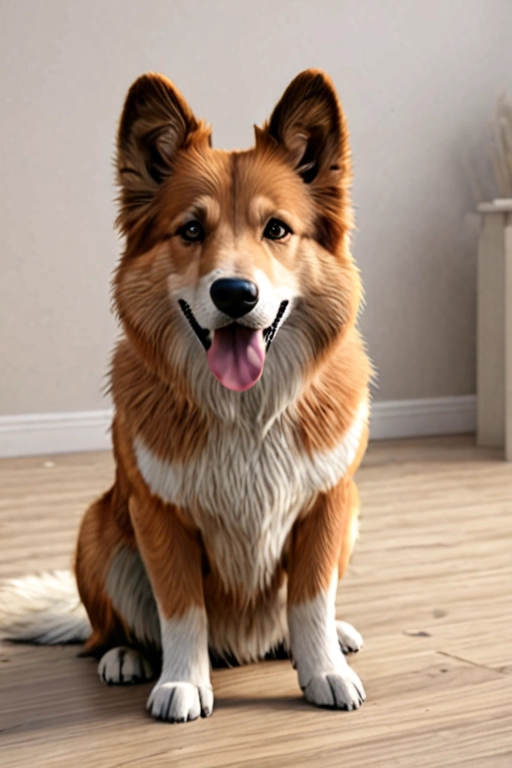
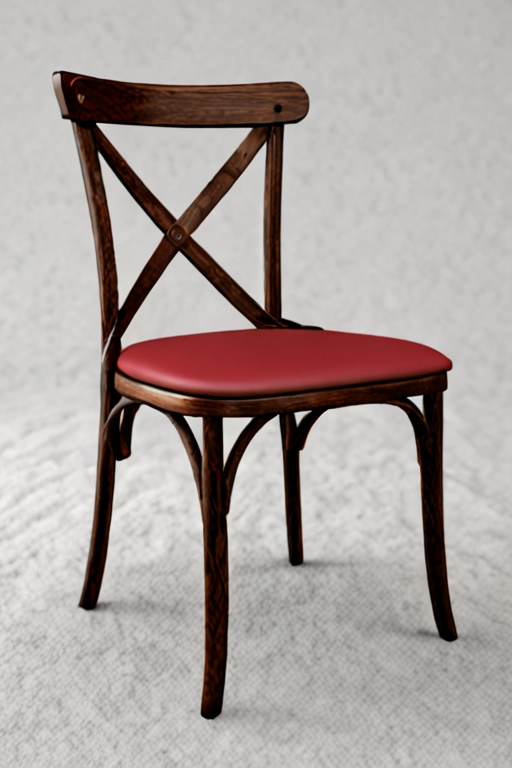
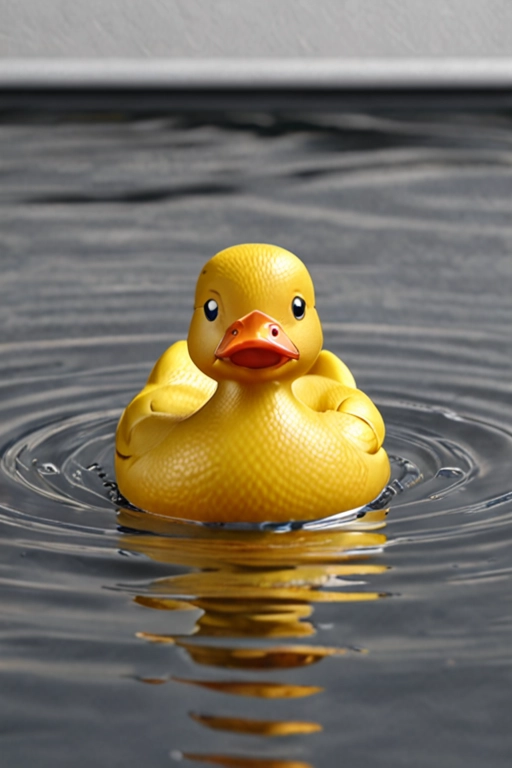
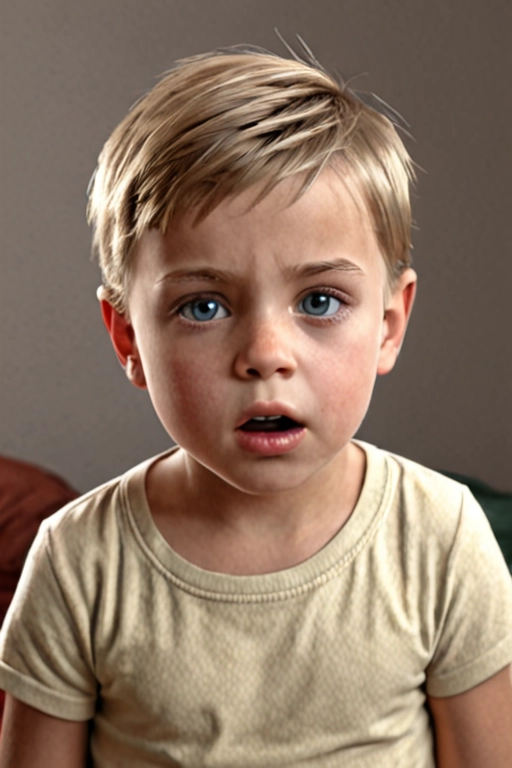
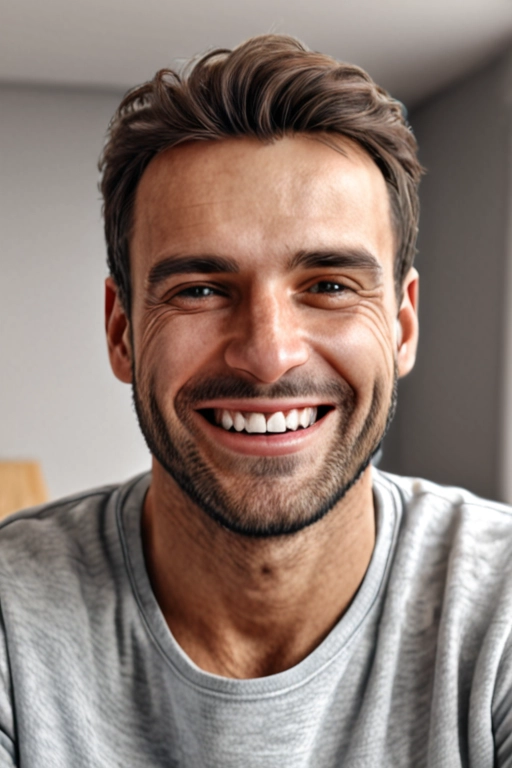
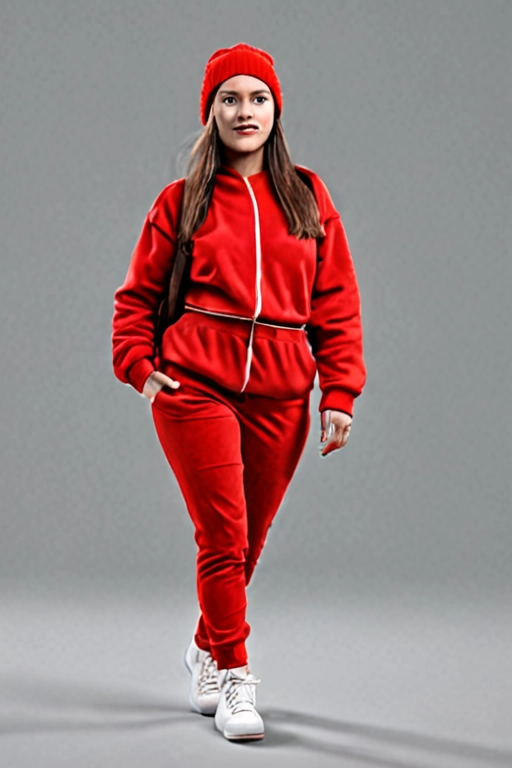
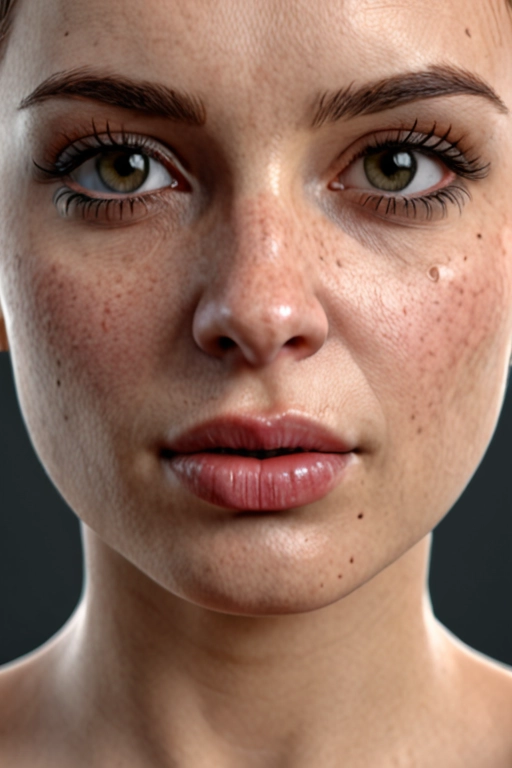
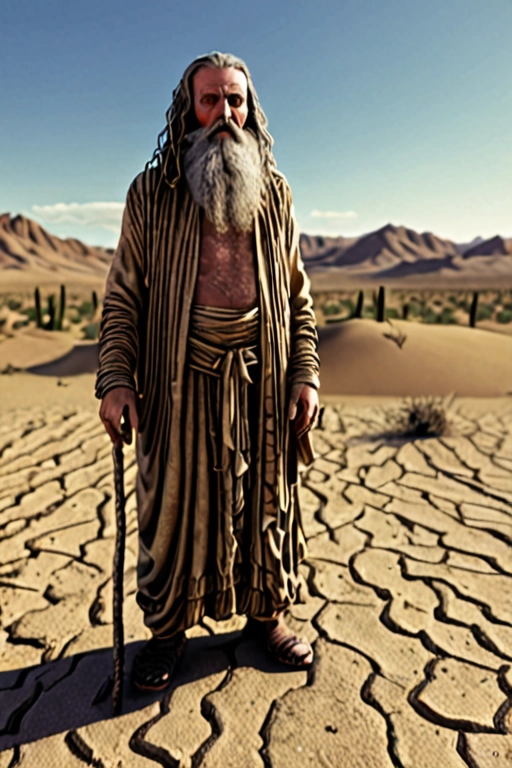
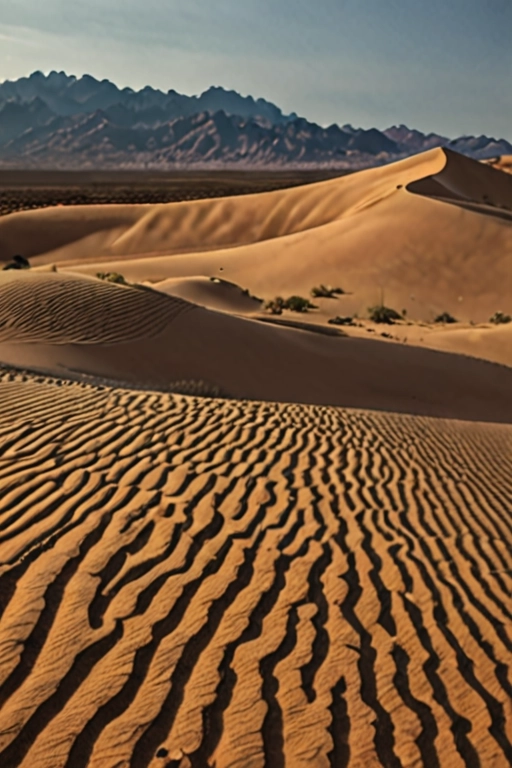
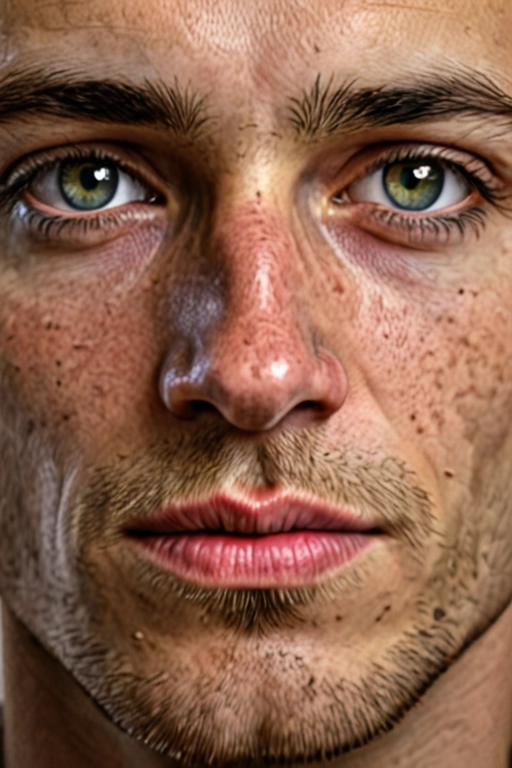
2. Subject
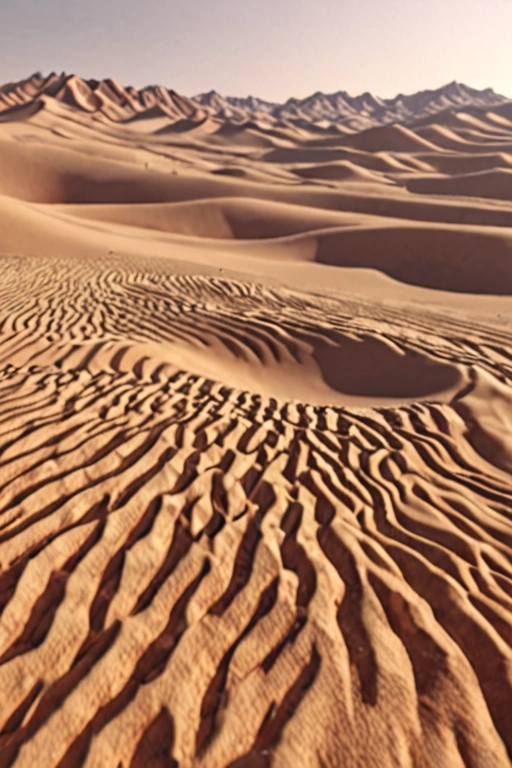
The subject is exactly what it sounds like. What is the focus or main object of your image? It can be a human, dog, shoe, tree, rubber ducky, etc.
I want to note that you might not want a subject for some images because your image focuses on a landscape or background.
For example, if you were trying to make an image about outer space but didn’t give any keyword for any planet or subject you were trying to see,
Here are some examples of different subjects:


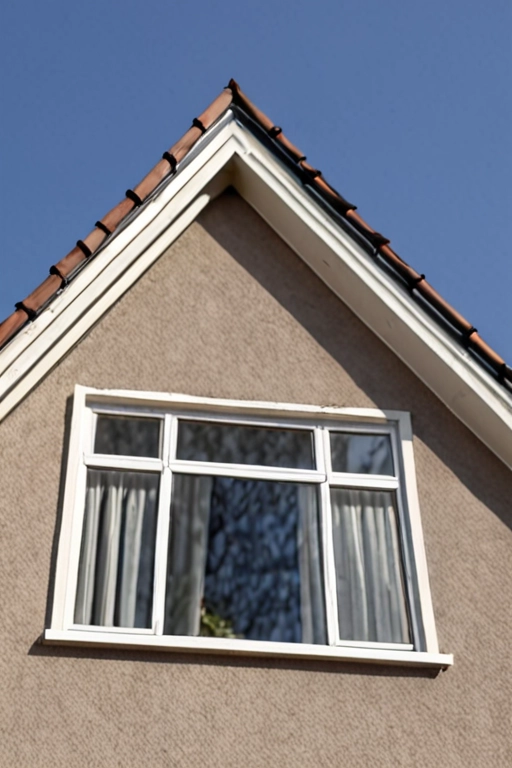
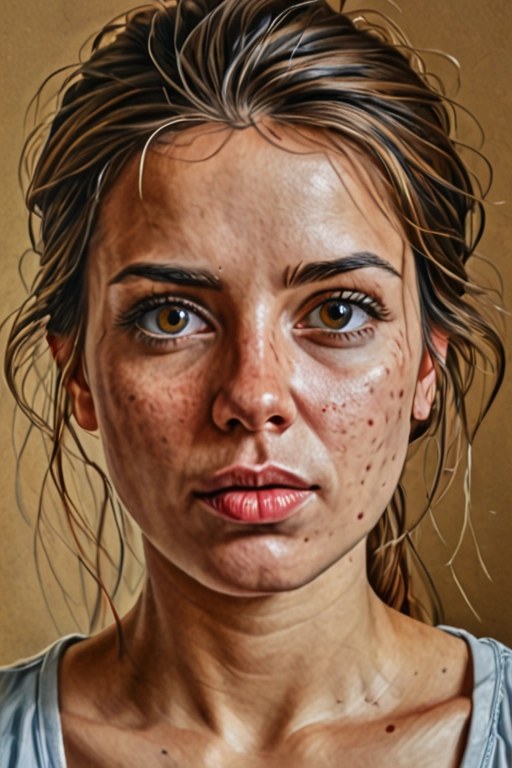
3. Details
Details is the most ambiguous keyword. This keyword can be anything additional that you want to see in the photo.
This can include modifications to the subject or background:


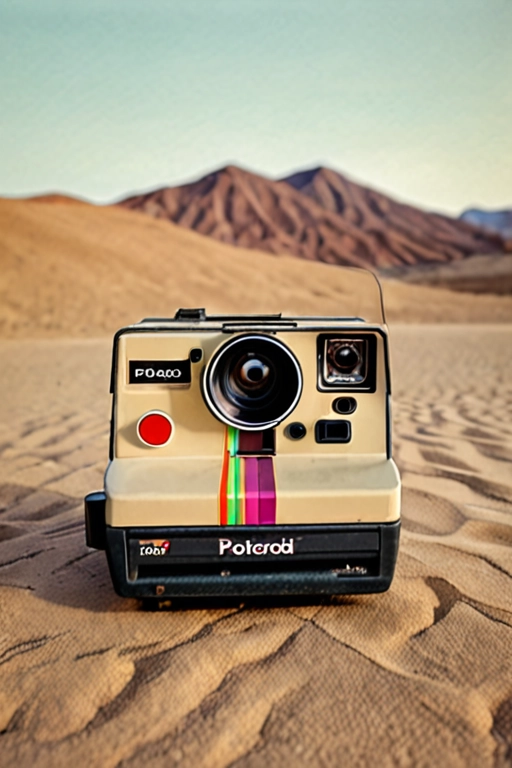
4. Medium
Medium lets stable diffusion know what was used to create your image.
Let me explain.
Medium can represent whether you want your image to be a “pencil sketch” or an “oil painting.”
Basically, the medium describes what was used to create your image:
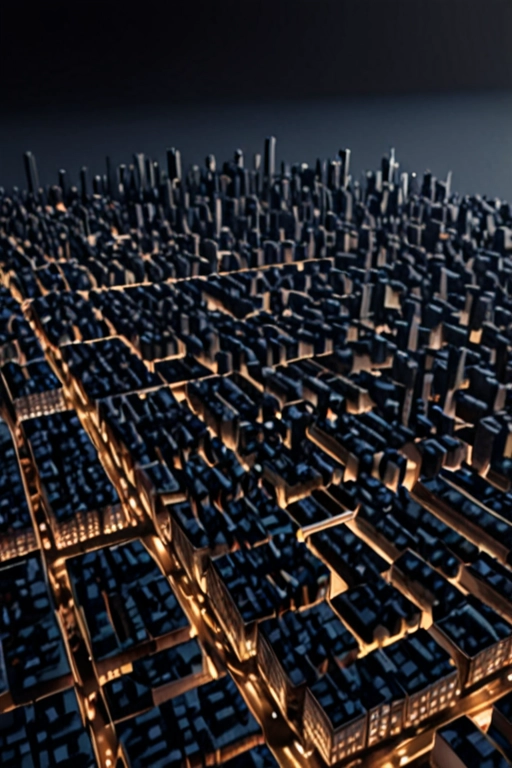
5. Style
Style refers to the art style used for your images.
An example could be “anime” or “dreamy.”
Check out these examples:


6. Artist/Render
Artist and render refers to who or what made the image.
If you put down a well-known artist like Pablo Picasso, then the image will reflect his art style. Additionally, if you put down a program like Unreal Engine, the image will look like it was created in Unreal Engine.
Here are some examples:
7. Lighting
Lighting is exactly what it sounds like. It dictates where the image takes place during daytime and nighttime and whether it’s bright or dark.
More Examples:
8. Resolution/Focus
Resolution is a little weird, but extremely popular keyword to include with stable diffusion prompt syntax.
You basically want to give stable diffusion a keyword that lets it know if you want your AI art to be blurry, focused, detailed, high-quality, etc.
Final examples:

Do I Need Commas To Separate Keywords?
First things first. Using commas is going to make a difference in your outputs.
Whether it has a positive or negative may vary between which stable diffusion model you are using and which software.
But, I am going to generally recommend that you use commas to separate keyword and keyword phrases.
Using commas is going to help the model know which keyword phrases should be separate or together.
Prompt Weights
Using prompt weights can help add or subtract emphasis to keywords.
By default, each keyword has a weight of 1.0
By using parentheses and brackets around your keywords, you can modify this default weight:
Parentheses
You can use parentheses to both increase and decrease emphasis on keywords.
In the example below, parentheses are being used to increase emphasis on the keyword “robot.”
- (robot) -> ((robot)) -> (((robot)))
- (robot:1.1) -> (robot: 1.21) ->(robot: 1.33)
In the 1st example, just parentheses are being used to increase the emphasis.
In the 2nd example, parentheses with a factor integer are being used.
In both examples, the amount of emphasis is the same meaning:
- (robot) = (robot:1.1)
- (((robot) = (robot:1.33).
Both of these examples accomplish the same goal of increasing the keyword emphasis using parentheses.
But parentheses can be used to decrease emphasis as well:
- (robot:0.9) -> (robot: 0.81) ->(robot: 0.73)
Above is an example of using parentheses to decrease emphasis on a keyword in a stable diffusion prompt.
This is achieved by using a factor that is less than 1.0 for the keyword weight, which will decrease its emphasis in your images.
Brackets
Brackets can only be used to decrease emphasis on keywords within a prompt.
Using brackets is much less common because parentheses are more versatile. Furthermore, brackets lack the ability to use factor integers like parentheses do.
Below is how you can use brackets to decrease a keyword’s weight:
[robot] -> [[robot]] -> [[[robot]]]
Increasing the amount of brackets further decreases the keyword weight.
An important note is that the example above’s weights correlate to the factor integers I am going to display below:
- [robot] = (robot:0.9)
- [[robot]] = (robot: 0.81)
- [[[robot]]] = (robot: 0.73)
How Does Stable Diffusion Save Prompts?
In Automatic1111, the prompts and parameters of each image are saved to the image’s PNG file. Furthermore, styles can be used to save specific positive and negative prompts for later reuse.
Where Are Prompts Saved Stable Diffusion?
Prompts have to be manually saved by making a style that you can reuse and edit. This is what allows you to save prompts in stable Diffusion. But this method only uses prompts, no parameters.
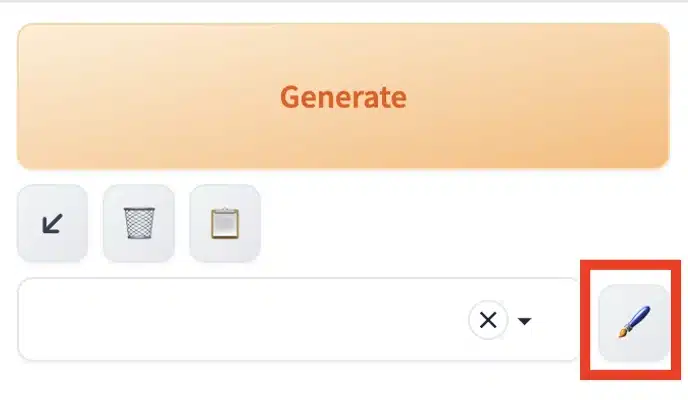
Using the button with a paintbrush in the image above, you can enter the menu for creating and saving a style.
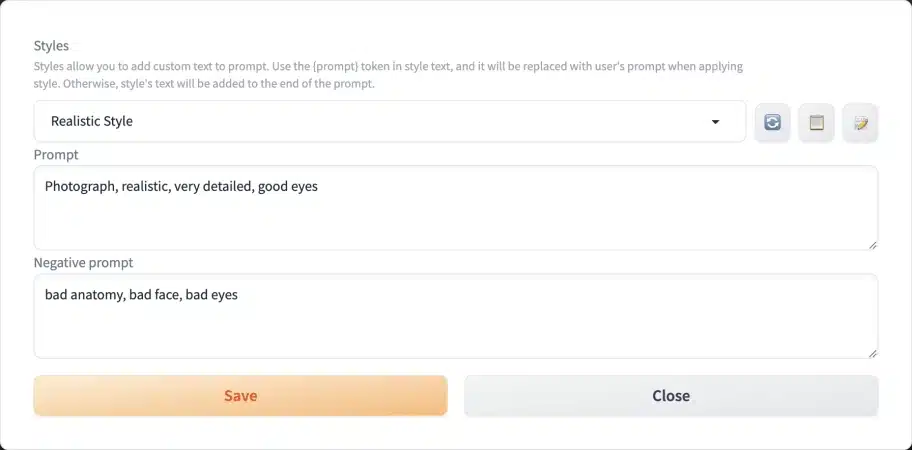
Afterwards you can type in a name to the style with the positive and negative prompts associated with the style. This newly created style can now be used with any generated image.
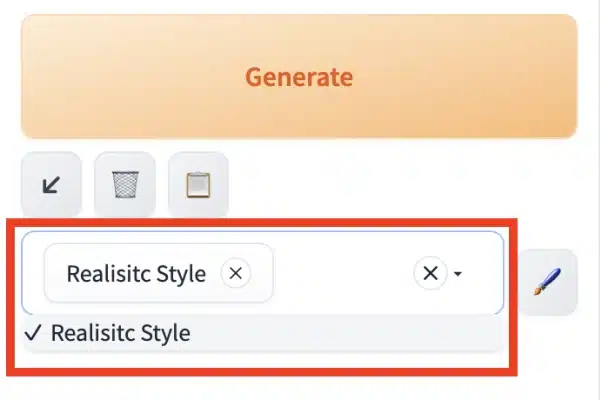
This is what it looks like to add a style to an image. The positive and negative prompts from the style will apply to the images you generate, even though they won’t appear in the prompt boxes.
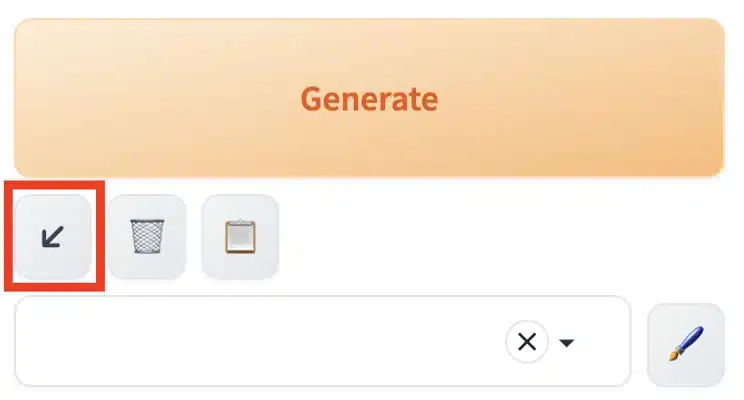
How To View Prompt History Stable Diffusion?
The only way to use your previously used prompt is by using the button underneath the generate button highlighted in red in the image below:
Another way to view previous prompts and parameters is to upload the previous image that you created to the “PNG info” tab.

That image will give you the stable diffusion prompt and settings used to make the image.
Prompting Generators and Databases
Not feeling creative or need examples?
There are various websites available to help you with prompt engineering and give you plenty of examples.
Generators
Hugging Face MagicPrompt
The Hugging Face website is home to a lot of resources for AI, including stable diffusion.
They also have a great prompt generator that can be used to create prompts from a few words.
Feedough
Secondly, we have this page on Feedough. They aren’t the most established, but they still have this prompt generator.
Databases
Civitai
Civitai is a great website to check out for stable diffusion. It’s where I download all my stable diffusion models and find new inspiration.
Notably it has this image section as part of it’s website. There you can click on images to see the settings and various models used to create the image.
PromptHero
PromptHero is exactly what it sounds like. It gives you a whole bunch of images with their prompts.
Check out this page for their database.
Stable Diffusion Web
Lastly, we have Stable Diffusion Web. They also have a prompt page with a search function to find prompts.
What Prompt Syntax Tips Have You Found?
Now I’d like to hear from your experience:
What tips have you found with stable diffusion prompt syntax?
Let me know by leaving a comment below.